Steel Clamping Torque Arm*
Sep. 05 2023The torque arm arrived from send-cut-send and was looked great. I modeled up a jig and drilled some holes in the sides, then went to tap them for the m3 bolts. And broke off a bit inside the hole. Sadly, no amount of drilling or other finagling would get it out.
Plan B – send off the fully modeled design to PCBWay and had it properly machined out of stainless steel. Drilled and tapped by them as well. Cost was ~$75 and submit->doorway time was about 3 weeks (Jul 22nd to Aug 11th). Part came well wrapped and in perfectly milled, drilled, and tapped condition. Installed perfectly on the bike.
I rewired my motor to use a HiGo L1019 connector so it will handle more current and also added a temperature probe inside the motor.
All-in-all it’s working great. I’m pushing 3,000 watts of power down the line without issue and have regen turned up pretty high (about 30-40A, if I recall). I may up that a little bit, though, as it’s not quite giving me the stopping power I’m after. Temps inside the motor have never gone over 55C – so downright frigid as far as ebike motors go.

And the overall current state of the bike is looking like this:
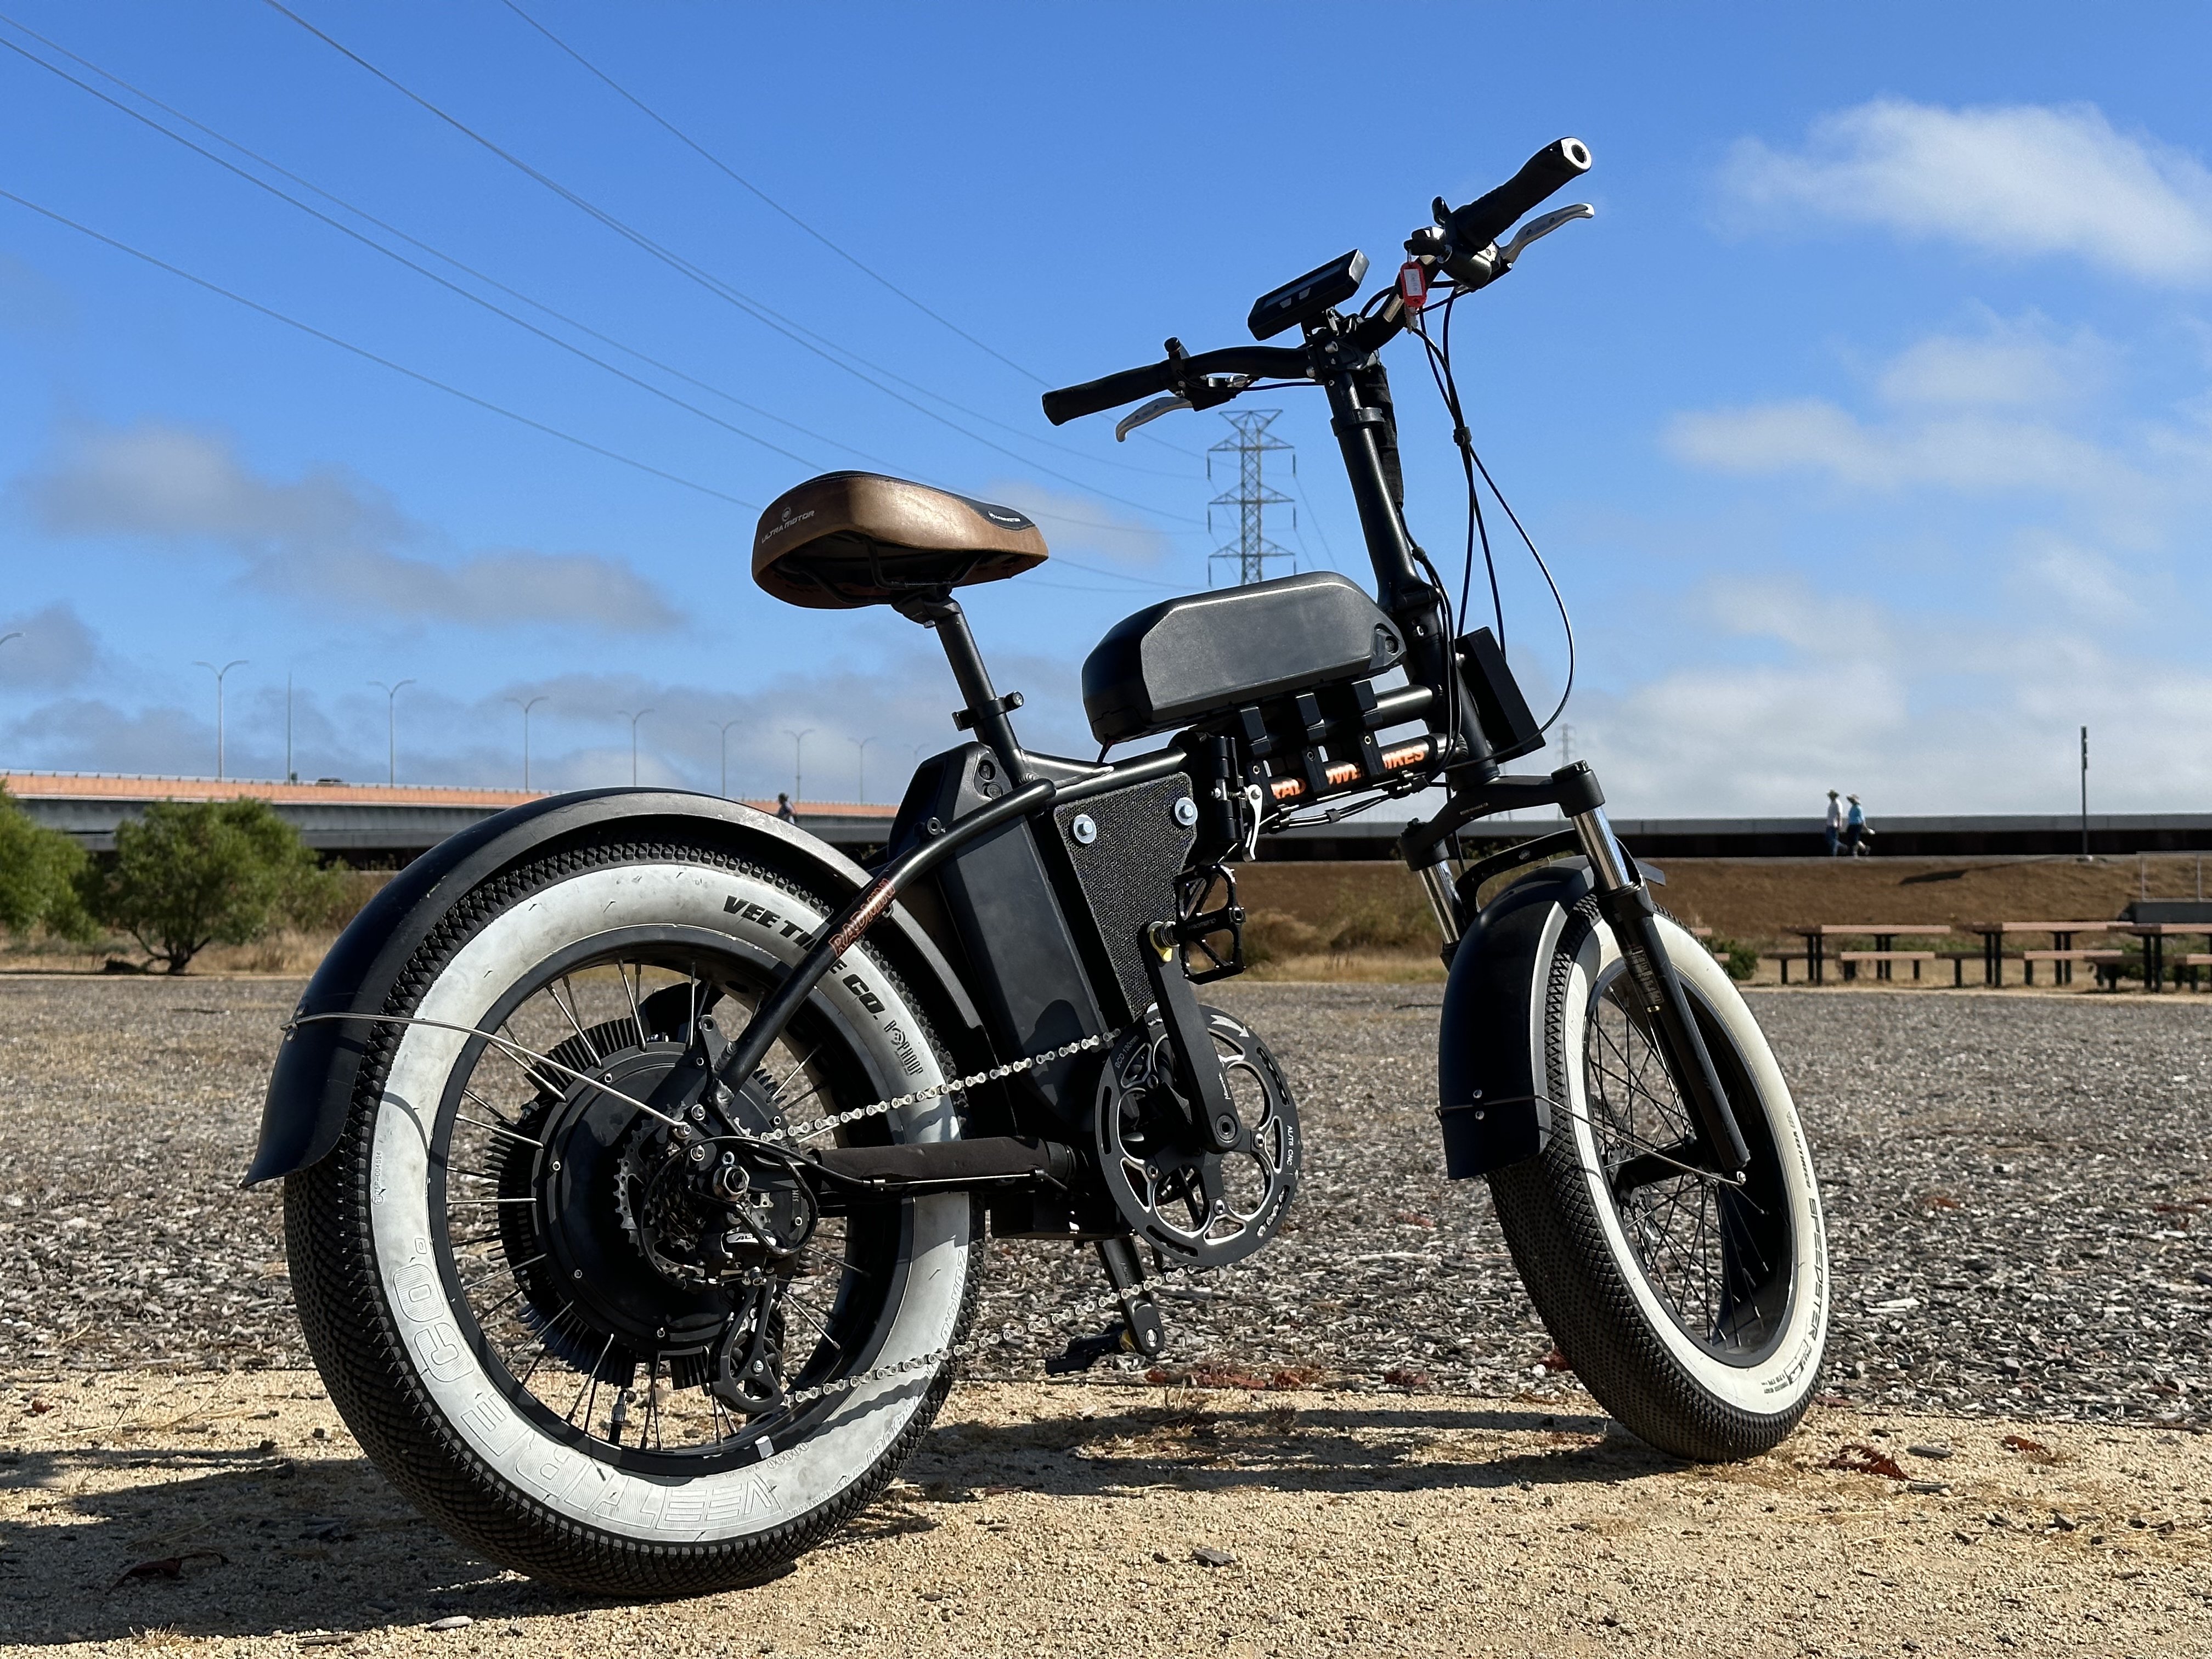
Ultimately, I’m really glad to be back on a direct drive. I keep dabbling with geared motors, and while the torque advantage they offer is unmatched, the perks of regen braking and sublime joy of silently cruising down the road just keep me coming back to direct drive every time.
At this point I mostly consider this bike complete – there’s some room for a brake upgrade in the future, but there’s no rush to do that with the regen being added back into the system.
If you’d like to build your own, you can find the Fusion 360 source file below:
Have fun!
* Ok, so it’s more of a torque plate than an arm…
More from RadMini4:
- Project Intro (May 1, 2023)
- Second Battery Mount (May 24, 2023)
- Mid-frame cover (May 25, 2023)
- 72v Battery Build(s) (Jun 18, 2023)
- Complete Overhaul (Jun 23, 2023)
- MXUS XF19FAT Motor (Jul 5, 2023)
- Clamping Torque Arm (Jul 12, 2023)
- MXUS XF19FAT Frankenrunner/Phaserunner Motor Tune (Jul 25, 2023)
- Steel Clamping Torque Arm* (Sep 5, 2023)