A Lit Multi-Layer Unicorn in Acrylic
Mar. 01 2019You can find tons of examples of “edge lit acrylic” all over the internet, and I was interested in doing something like that, but I want to put my own twist on things. After a bit of thinking, I figured, “If you only need to light one edge, you could light 4 layers on individual edges, right?” Thus began my 2 month long journey!
Engraving Acrylic
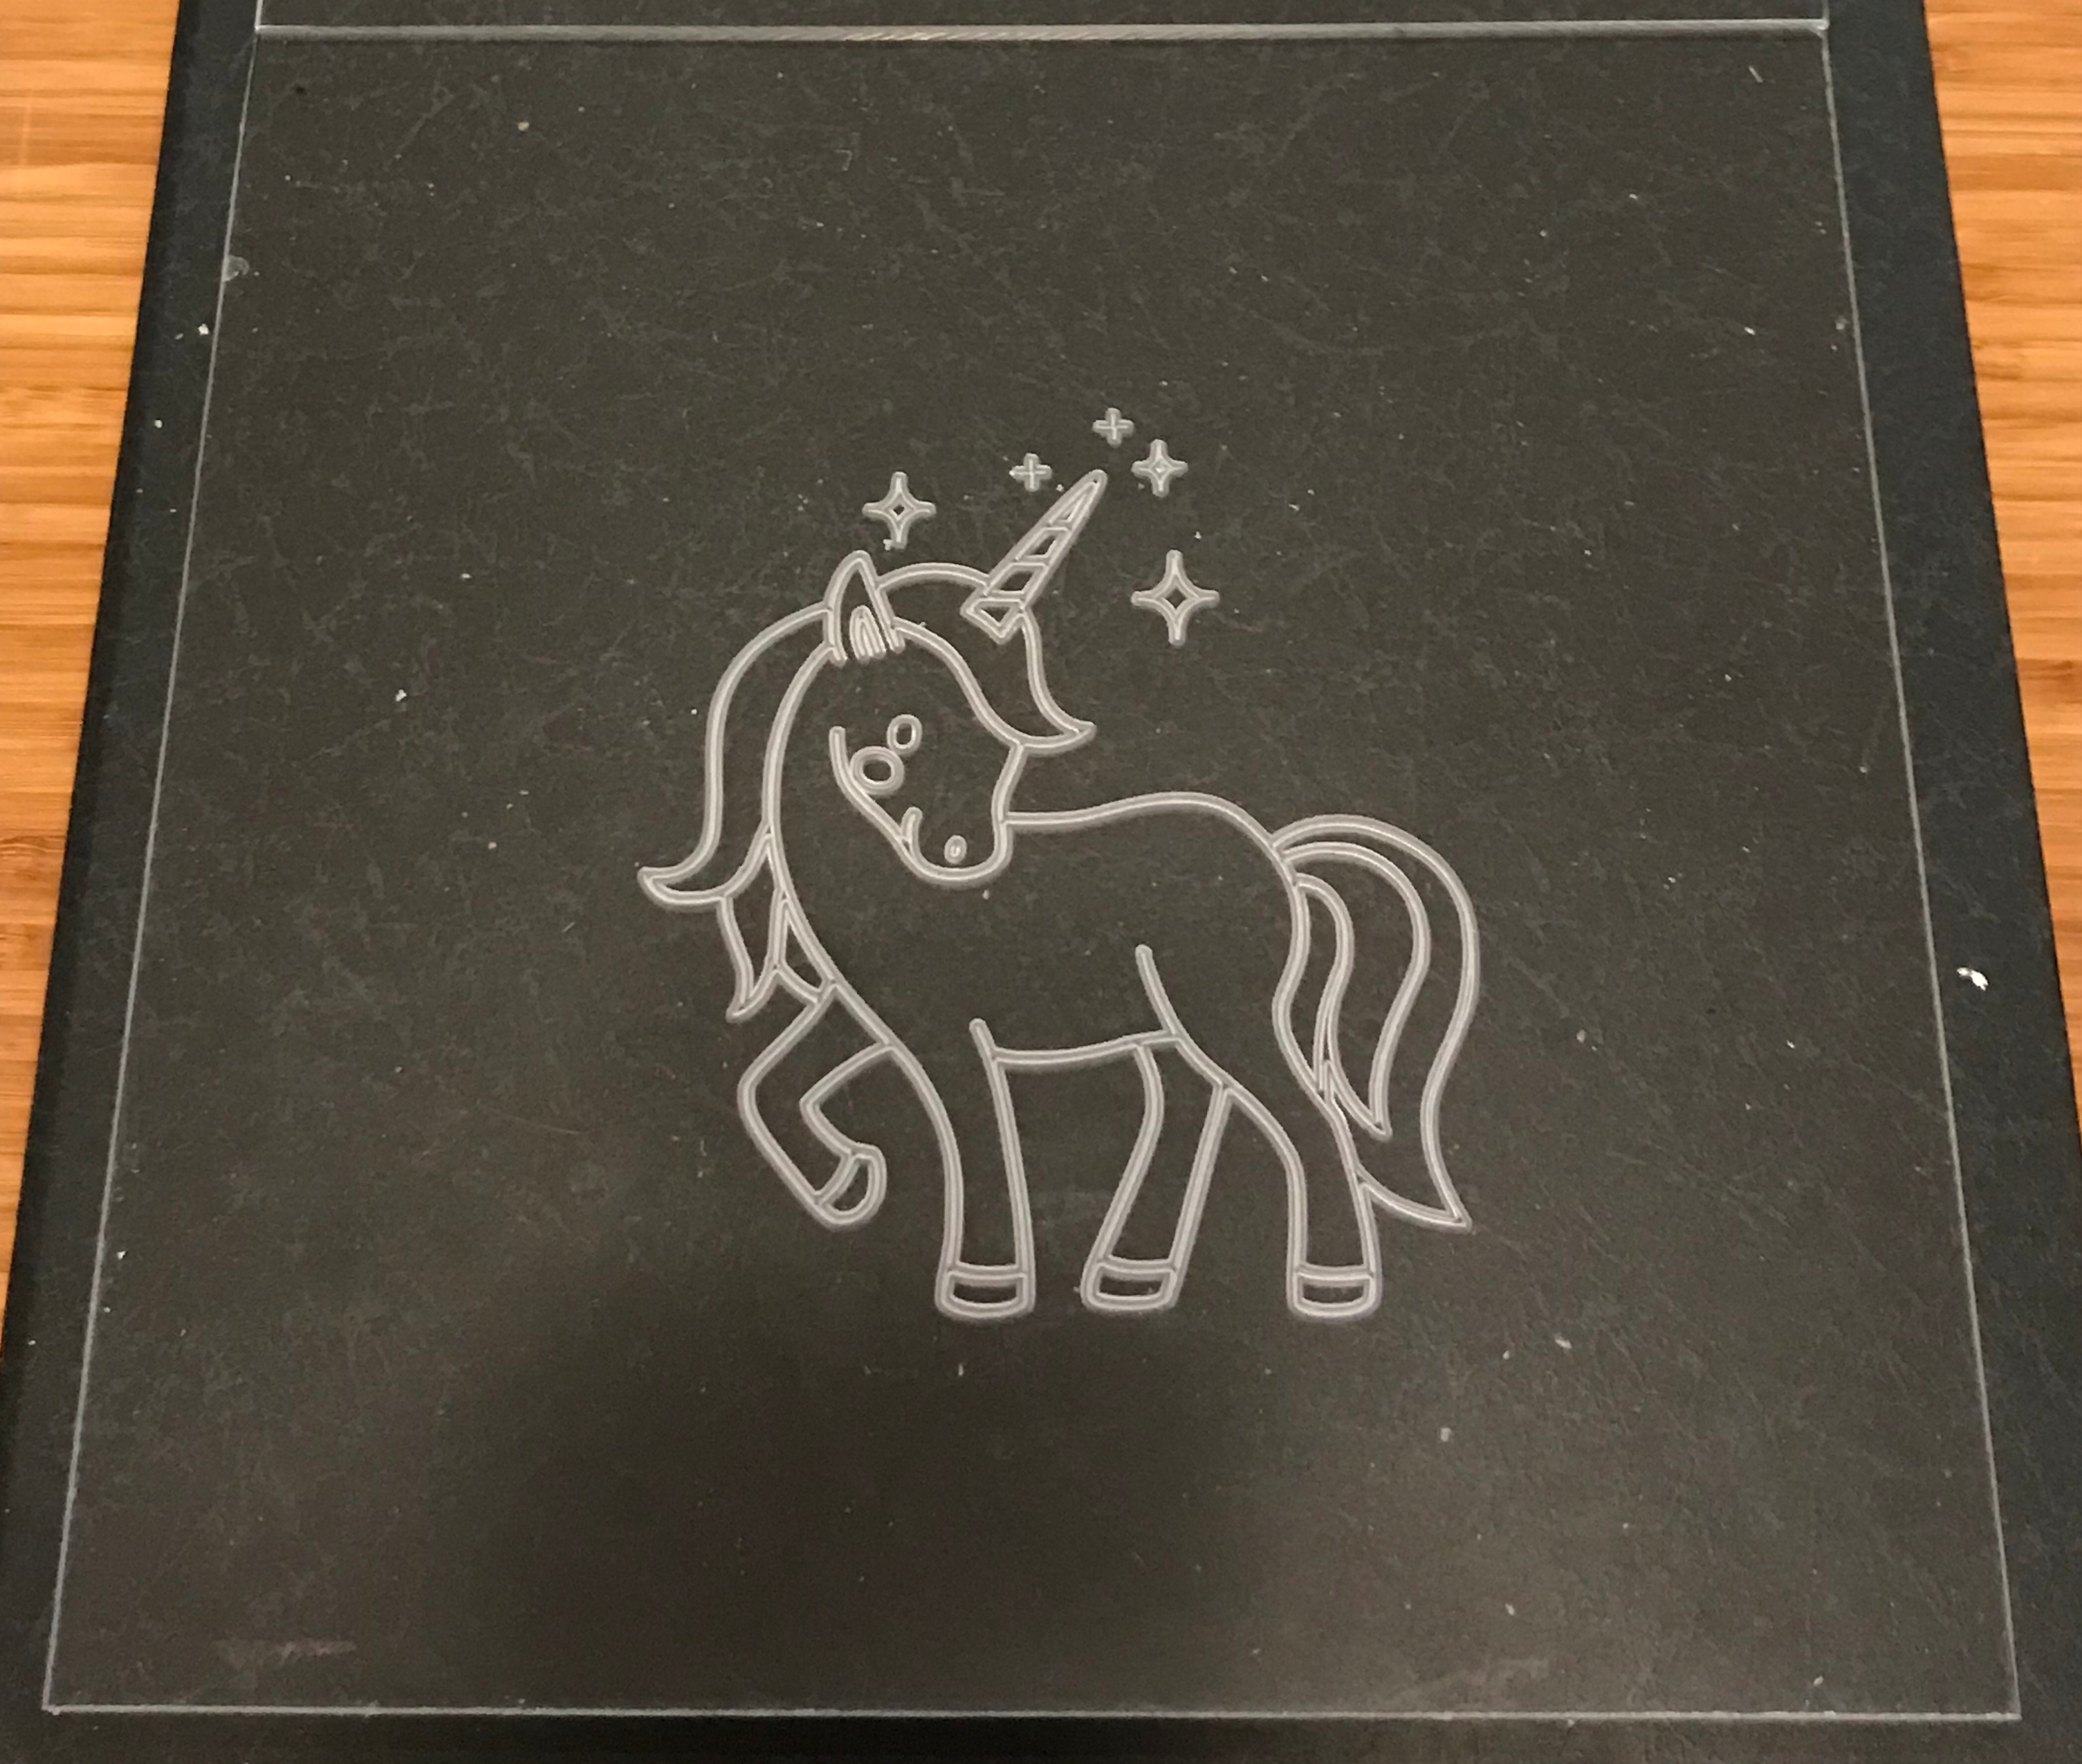
First, I experimented with cutting the unicorn into a trace operation on my CNC machine:
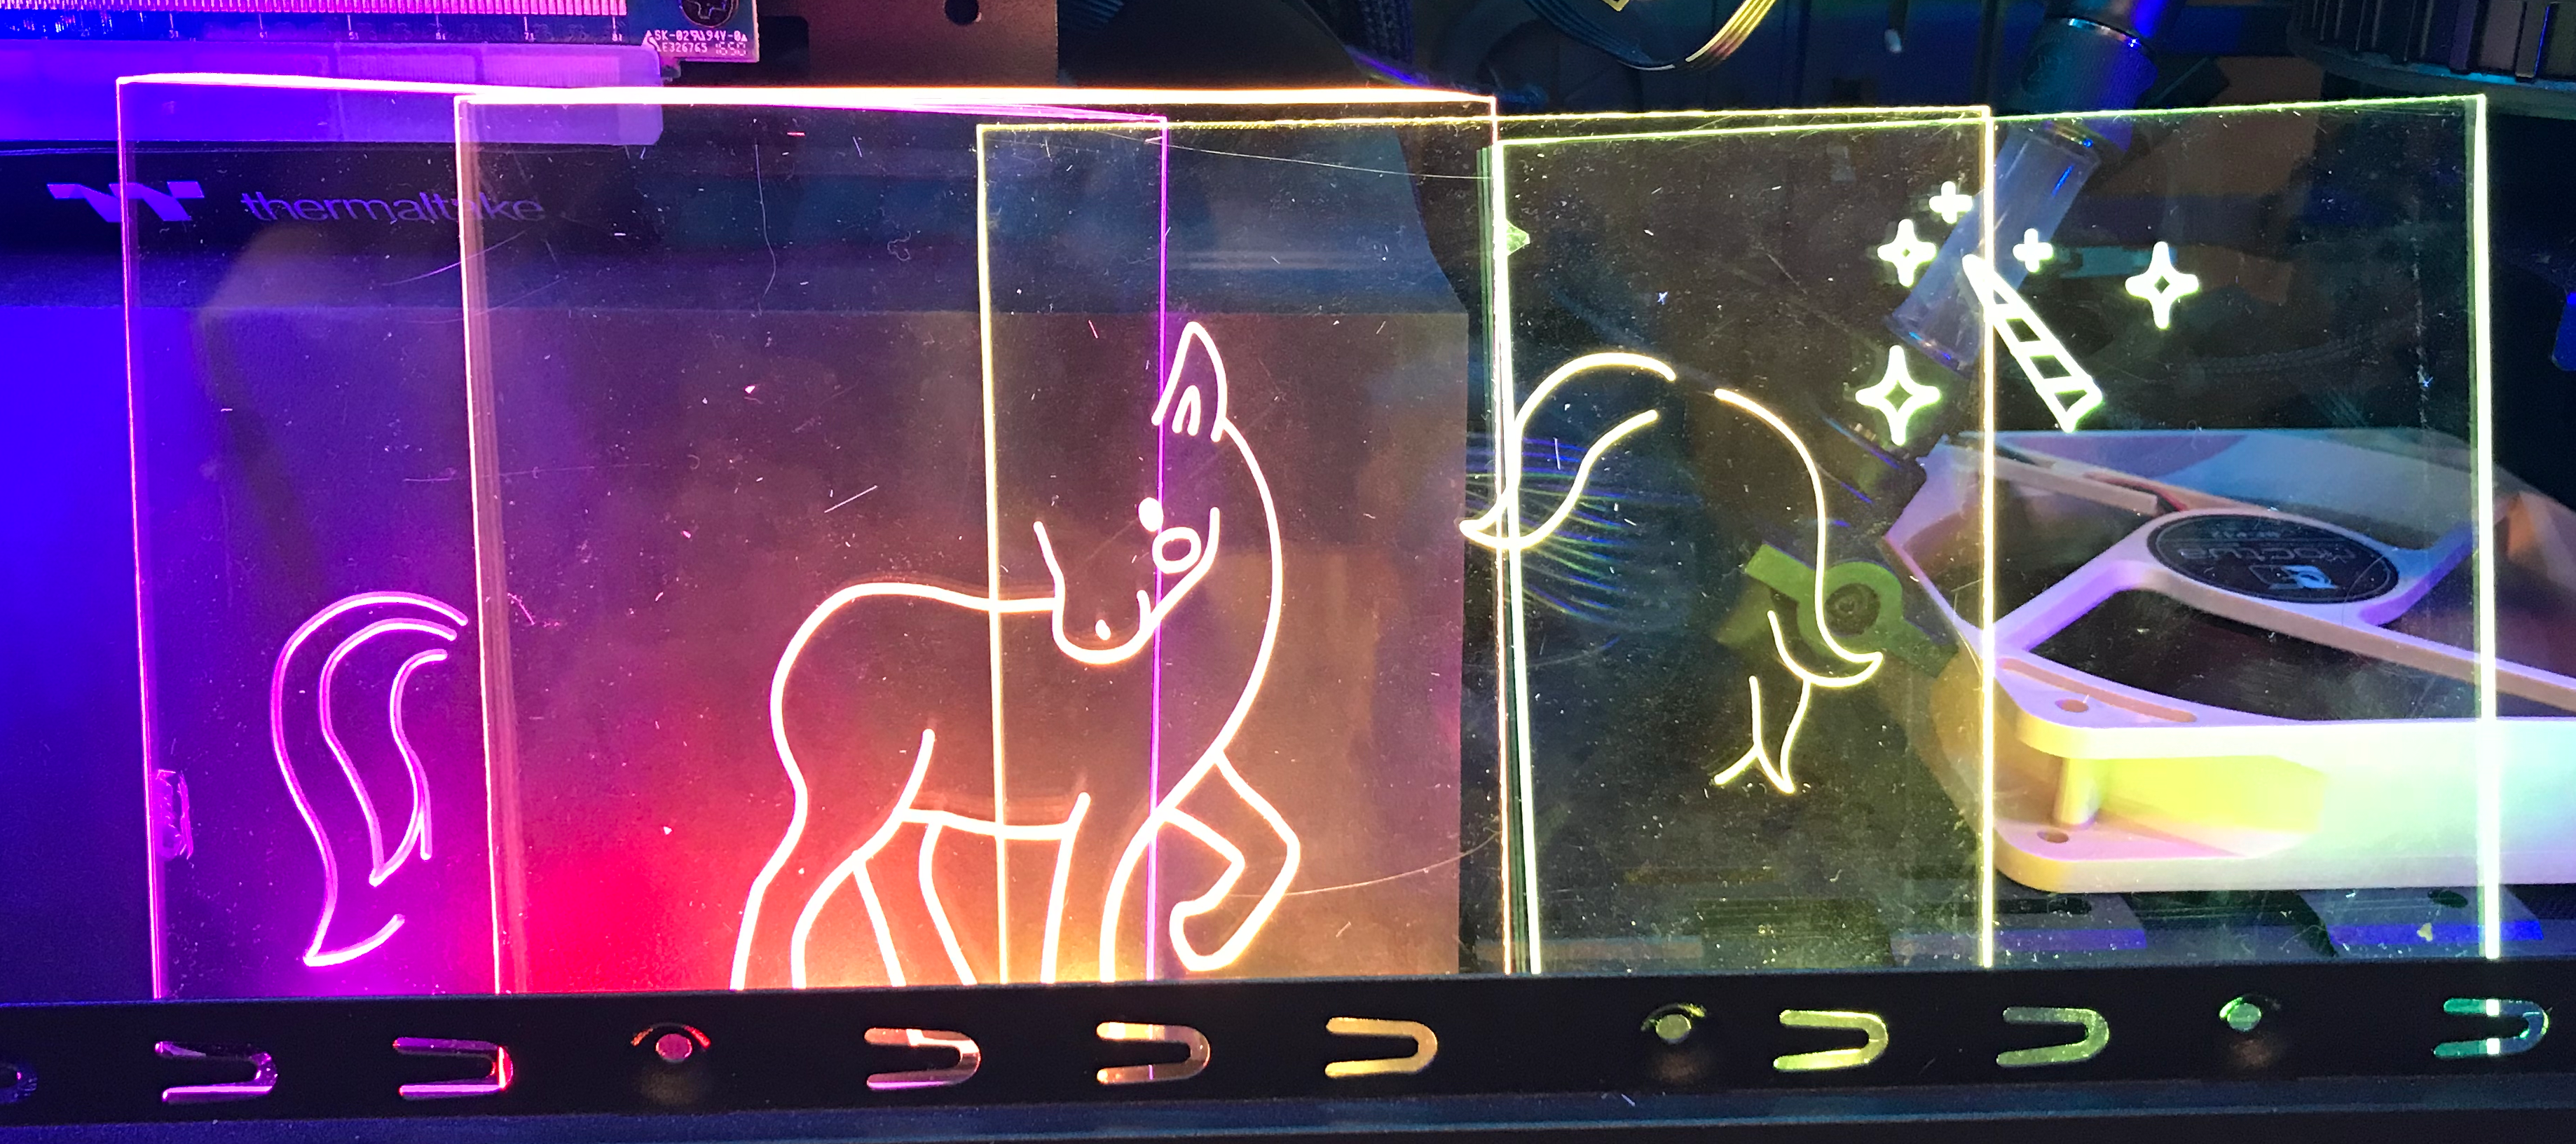
Then it was time to split the design into 4 layers and see if “marrying” them back together would work out ok:
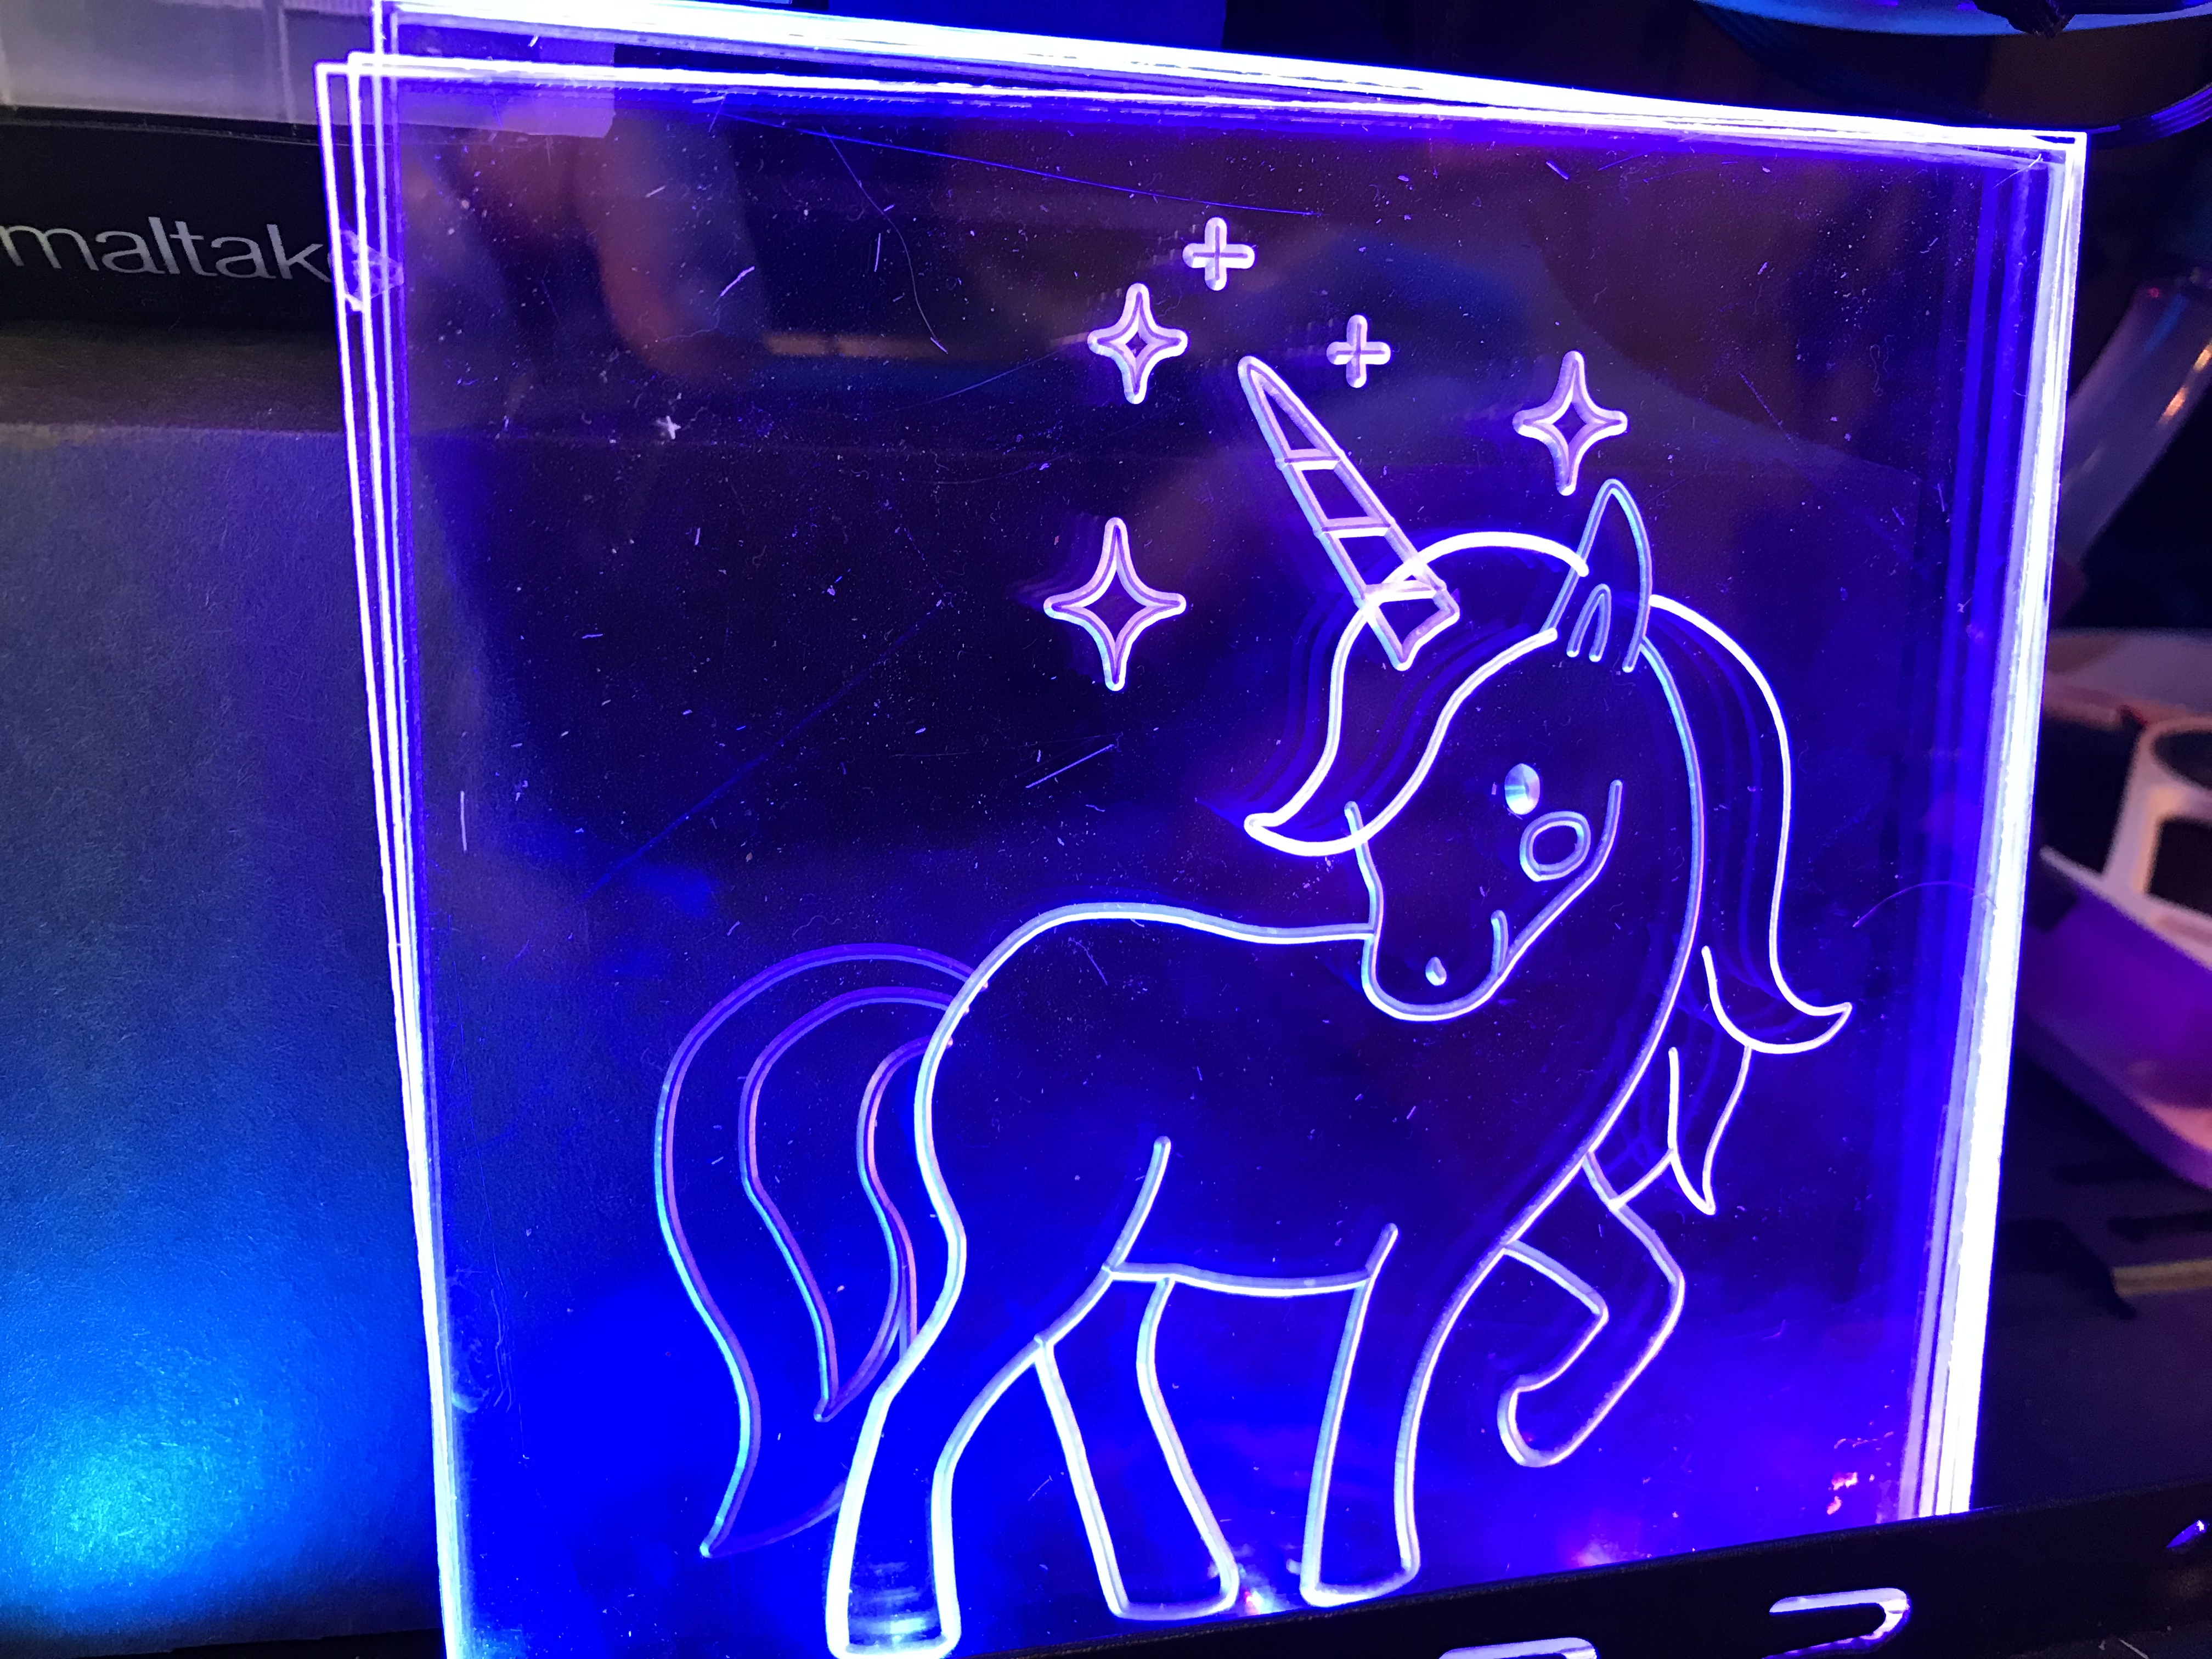
And when you line them all up:
For all of these I used a normal 45 degree Vbit at 70ipm 6 on my makita and very little depth. Fair warning, get a dust boot with bristles. Acrylic “chips” (really, shavings) are very light and go everywhere and get statically charged very easily so you find them stuck to everything.
The Frame
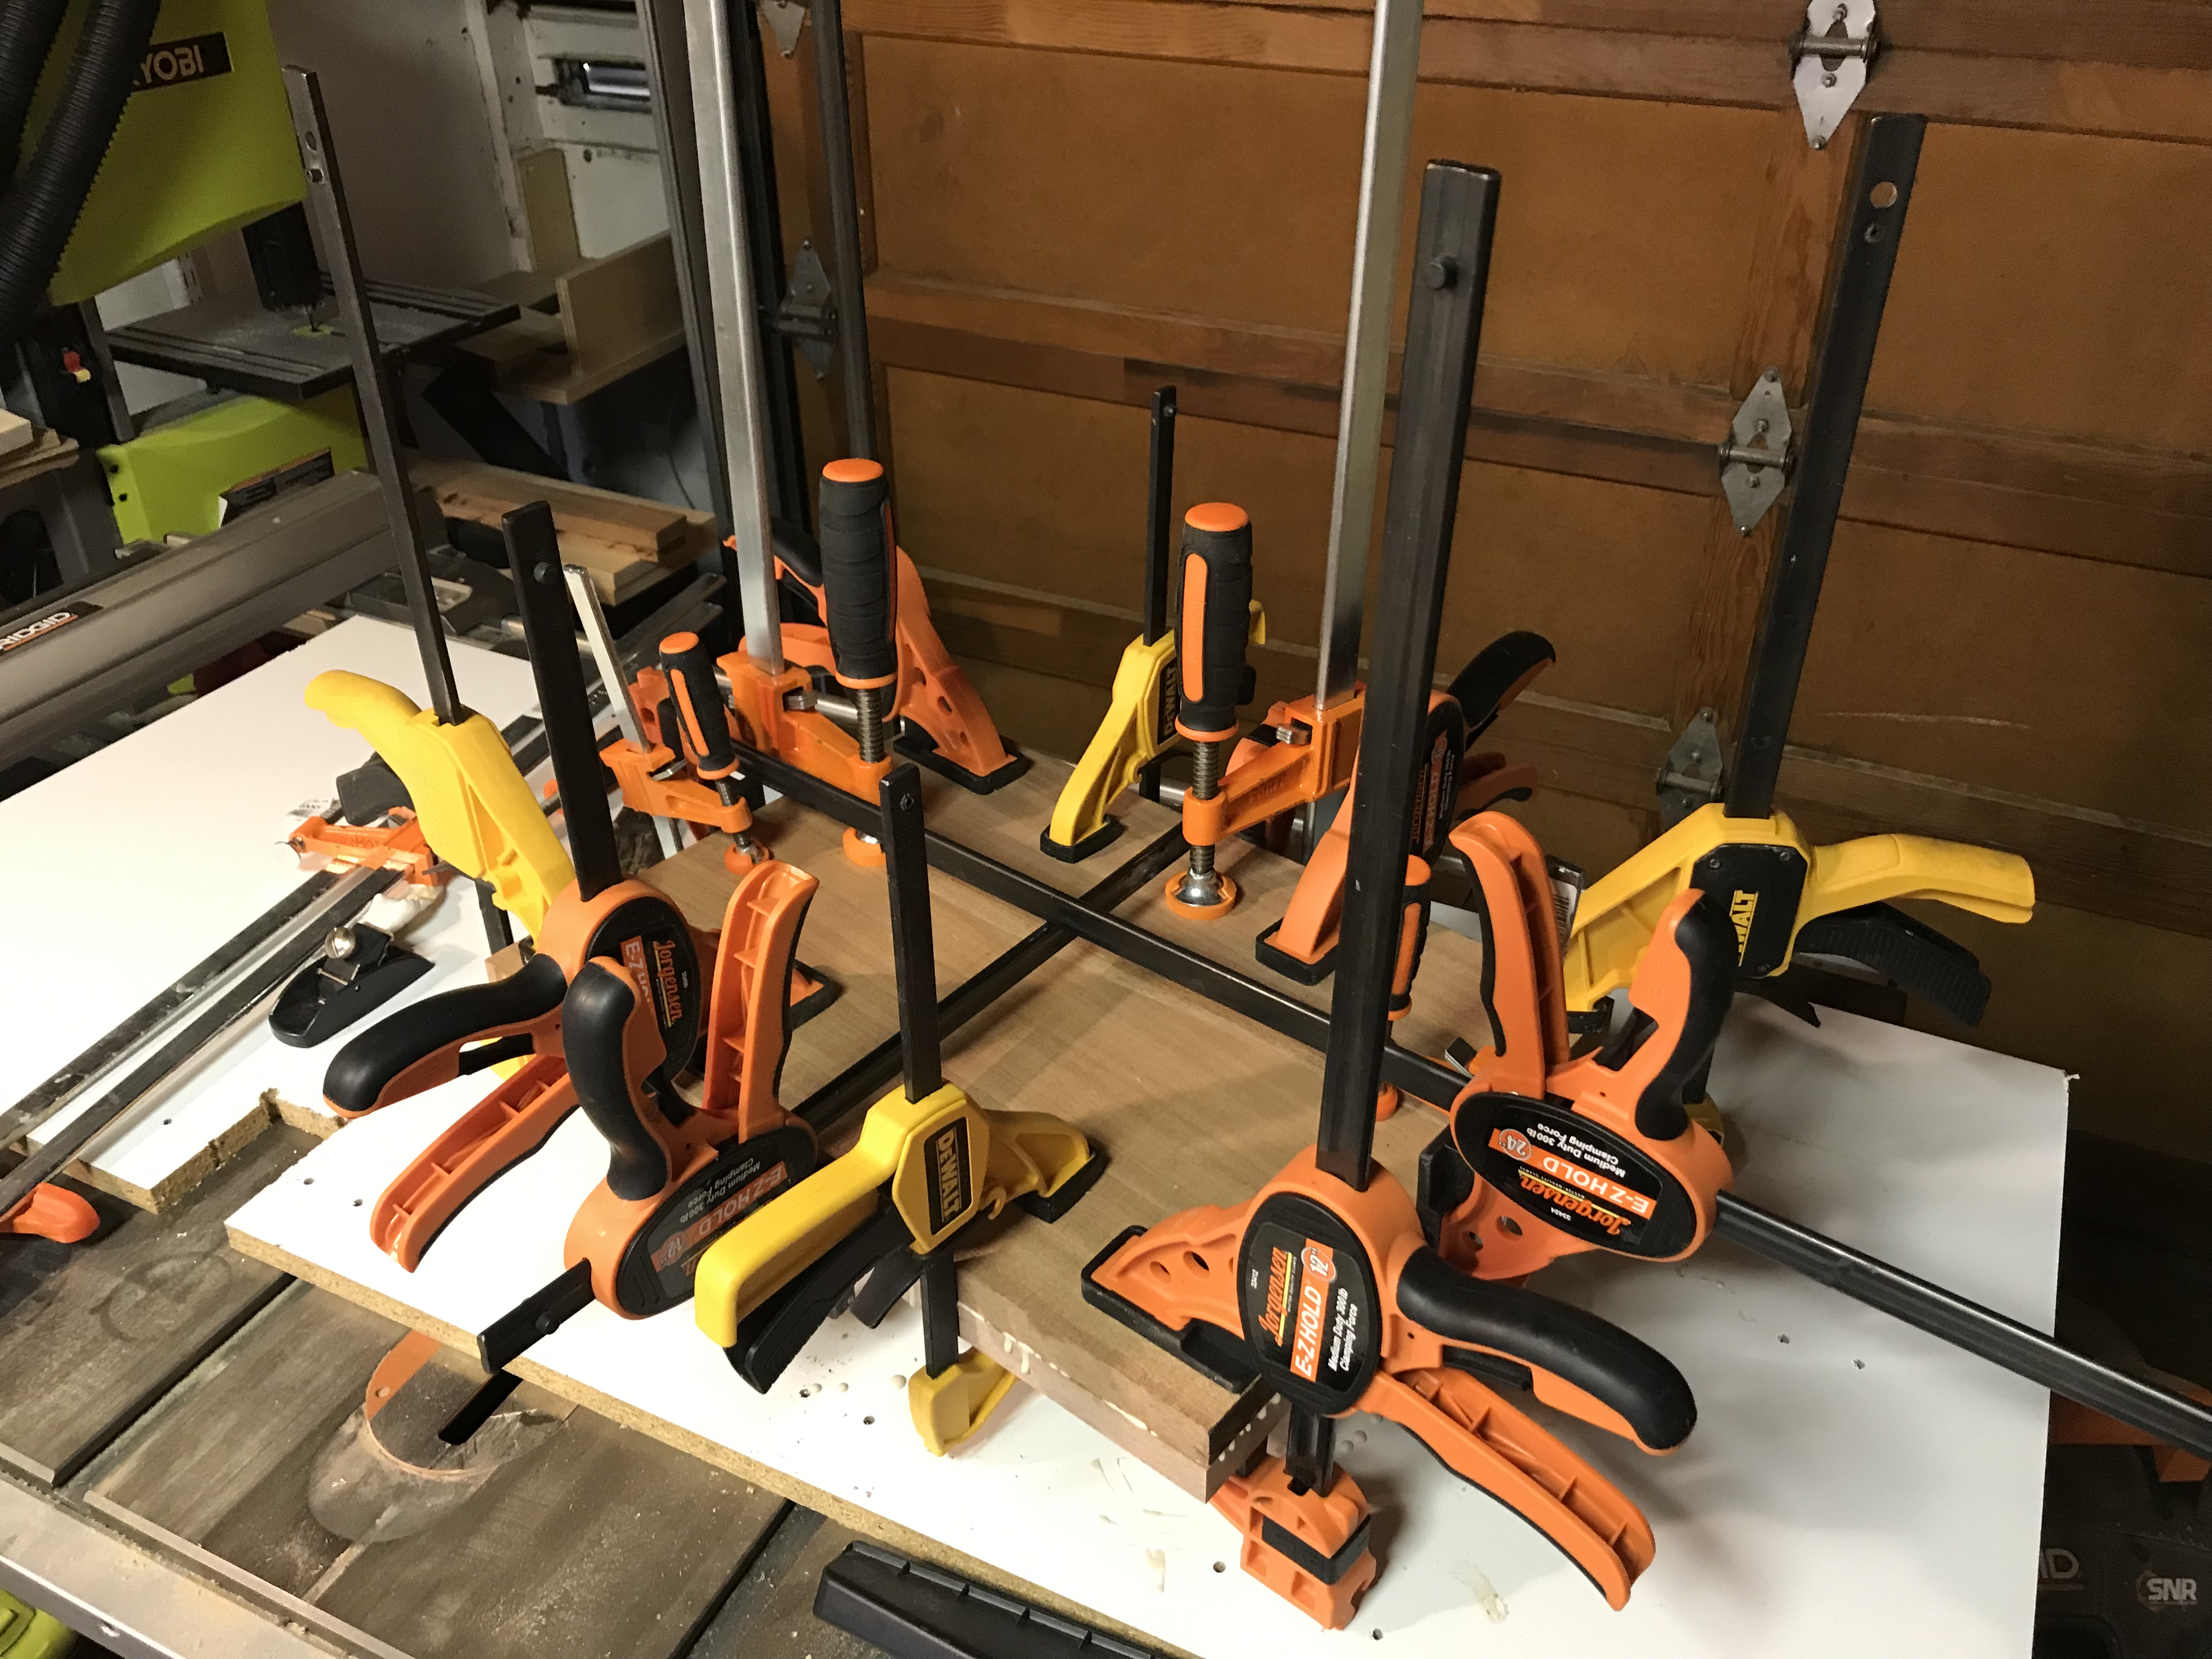
The frame needed a channel around the acrylic sheets to hold the LEDs and some way of holding the sheets in place. I created some L shaped edges and a channel behing them for the lights. The first prototype was pretty rough – just some 2x4’s glue together and milled out, but served to prove out the idea.

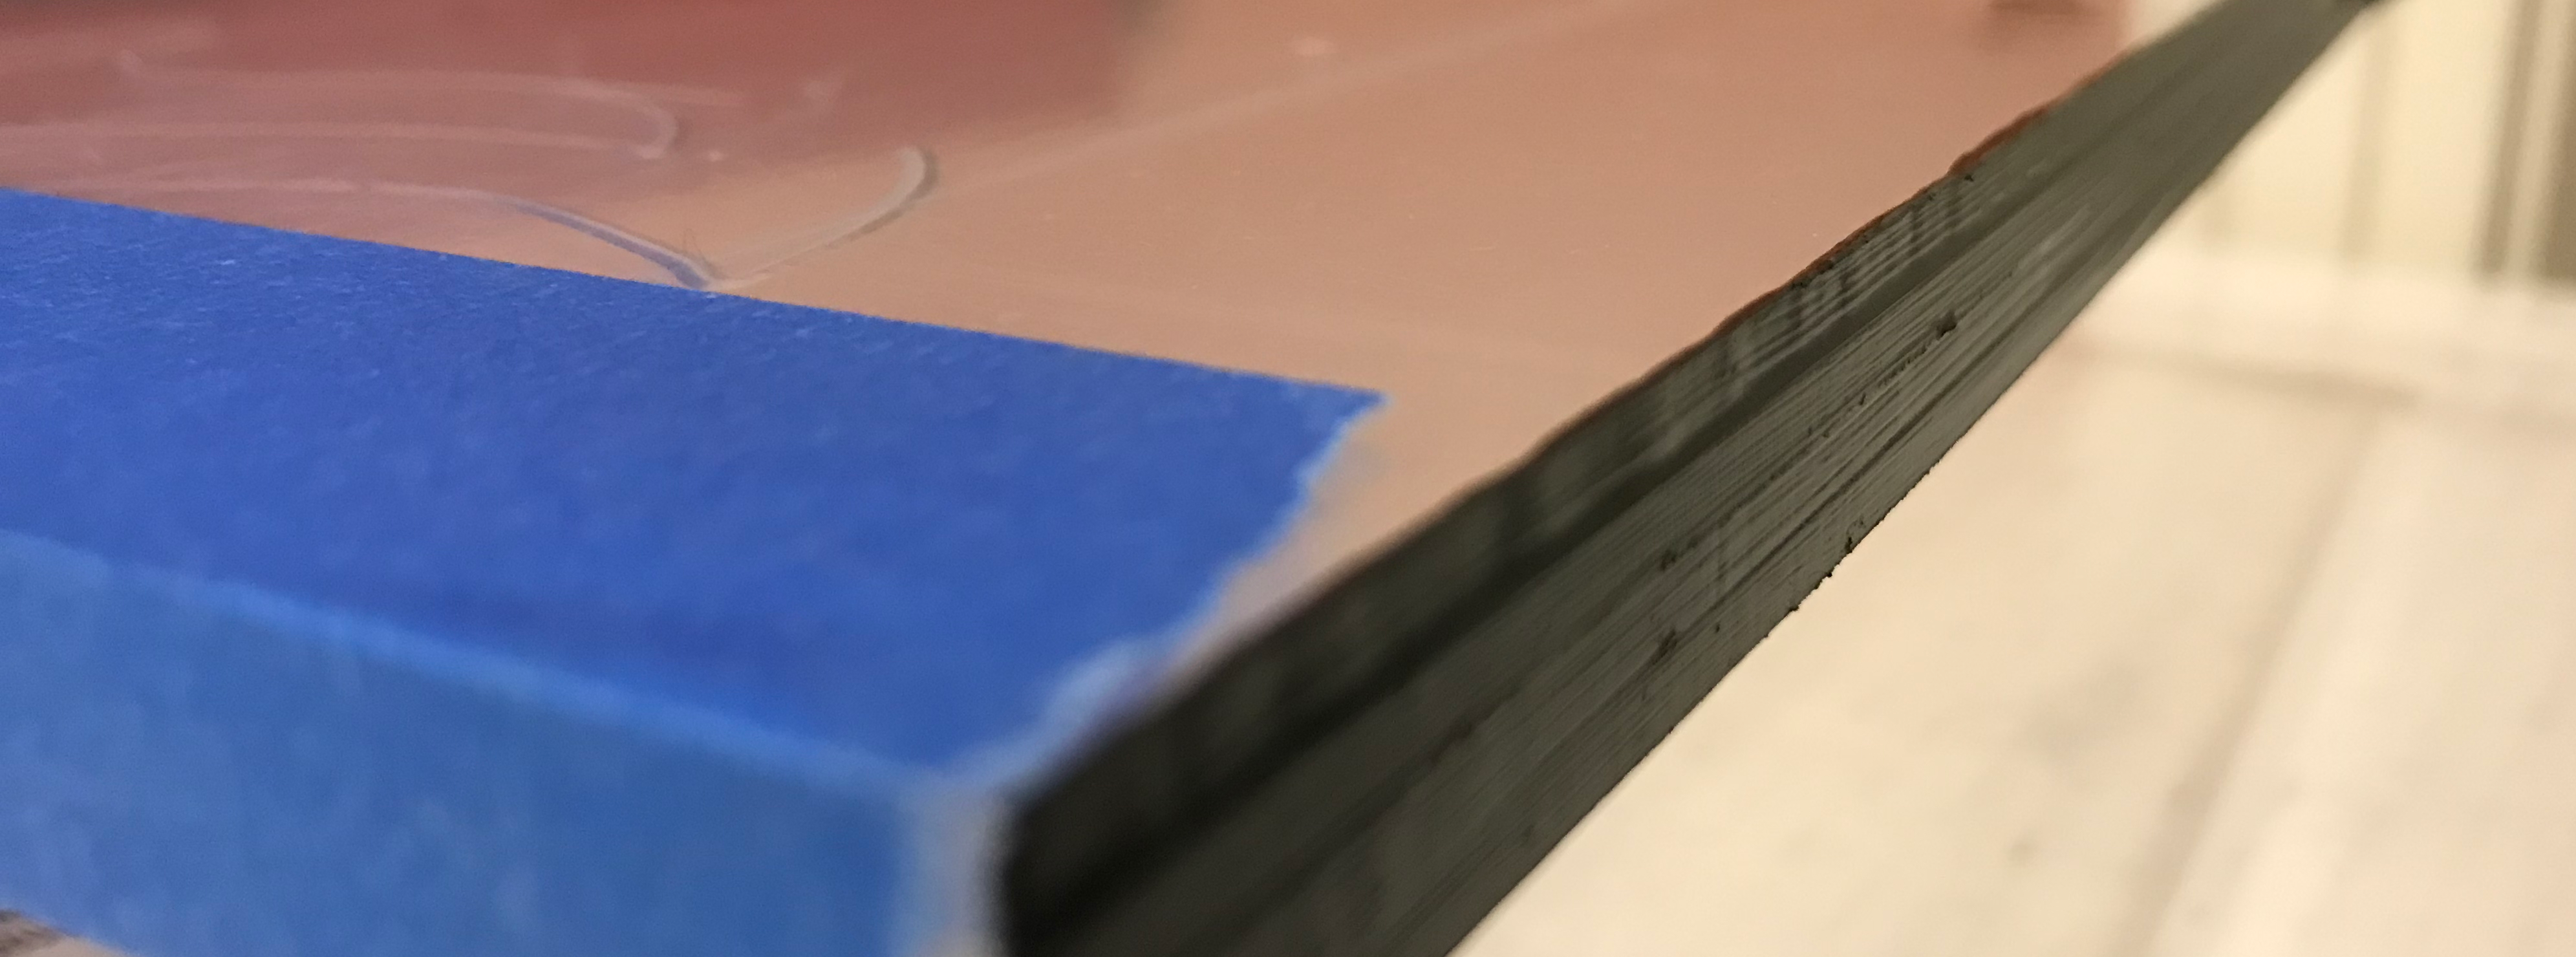
In the image above, you can also see that I’d painted the edges of the 4 layers so that they all had a single exposed edge. I originally tried to just use a sharpie marker, but that didn’t adhere well enough and I ultimately resorted to using acrylic paint in two applications.
Parts and Pieces
- Acrylic Sheets
- LED light strip – I went with RGBW, but you can go for RGB without a White compontent, what you must get, though, is addressable rgb’s. Non addressable LED strips will only show a single color and would defeat the entire purpose of this build!
- Wifi controller – You could substitute this with some other controller or even an arduino you custom program, but that’s up to you. This controller was convenient and has worked well enough.
- Power Supply
- Wood to carve the frame – I think I spent about $30 on project boards from Home Depot
All in this rounds out to about < $150 in project materials.
The Final Frame
After the prototype I realized I didn’t have anywher to put the wifi controller, so I expanded the left/right sides on the frame so I could carve out a space in the back for the controller. Finally it was time to get to work, starting with turning the project boards into a single stock piece:
And get it in the machine:
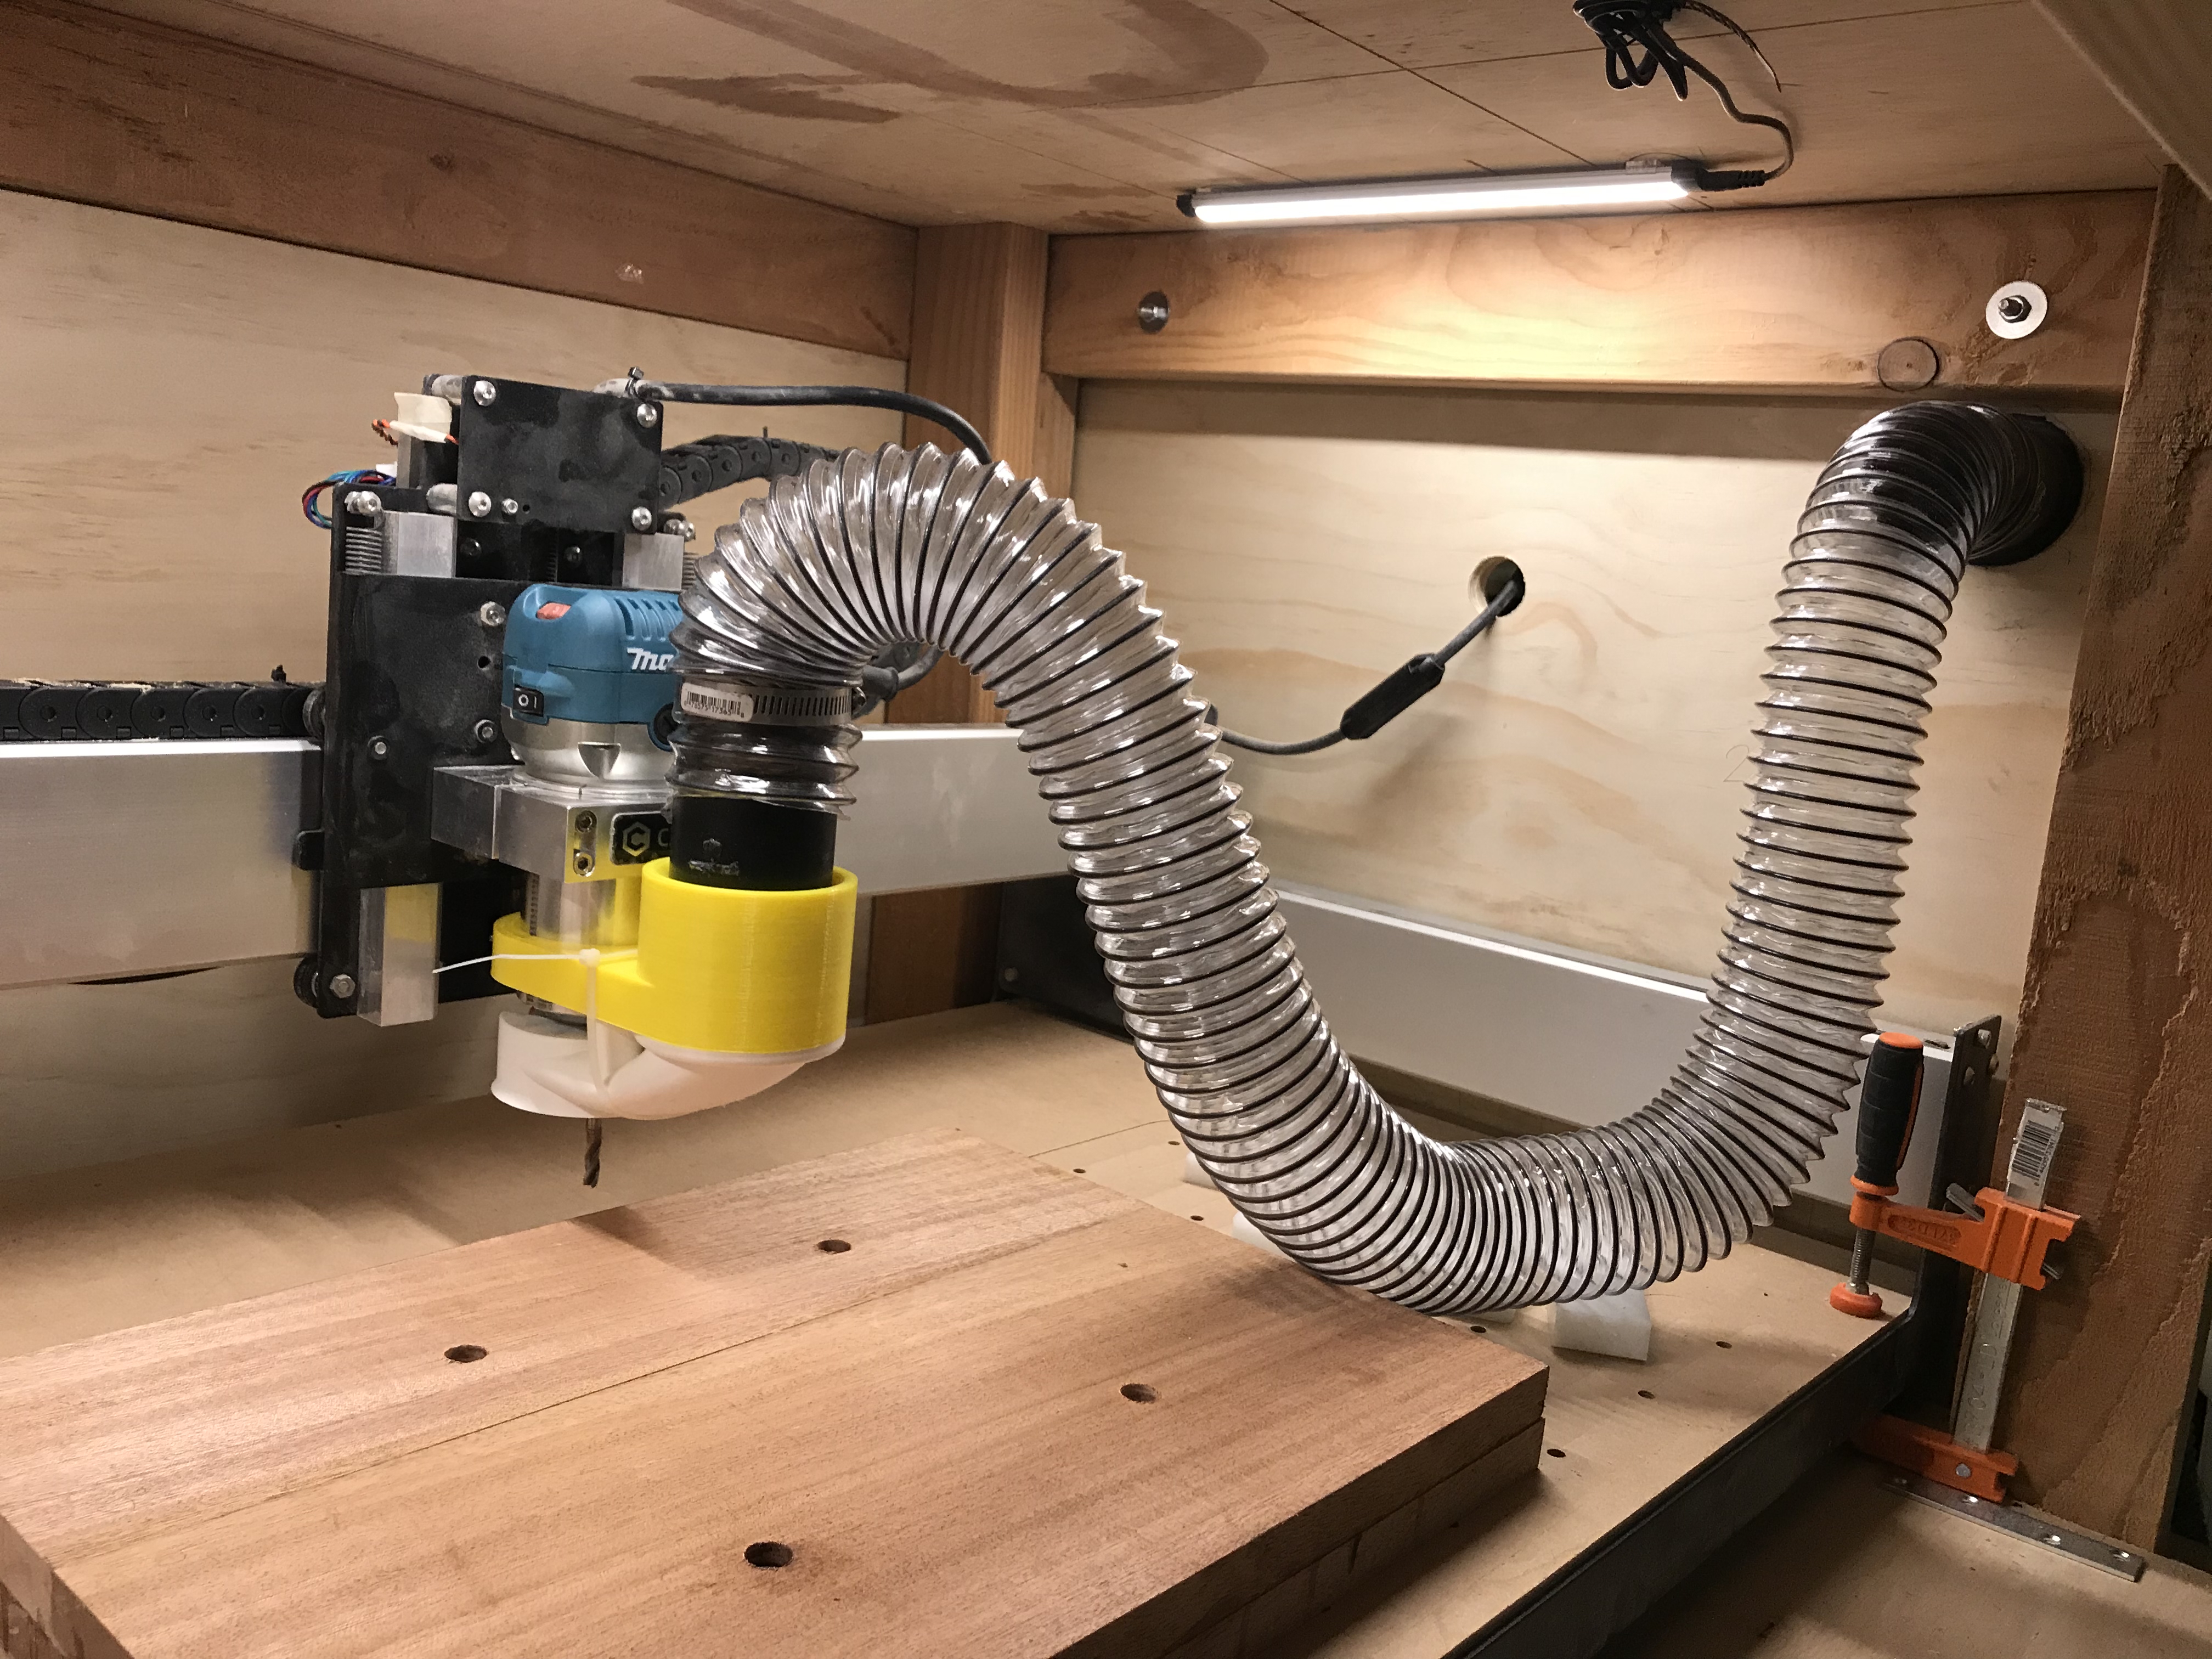
You can see I’ve already milled out the mounting holes here so that I can screw the work piece down in the middle of the machine. This was a really great way to hold down the stock as in meant there was absolutely no work holding pieces in the way of the dust boot, etc. No crashing!
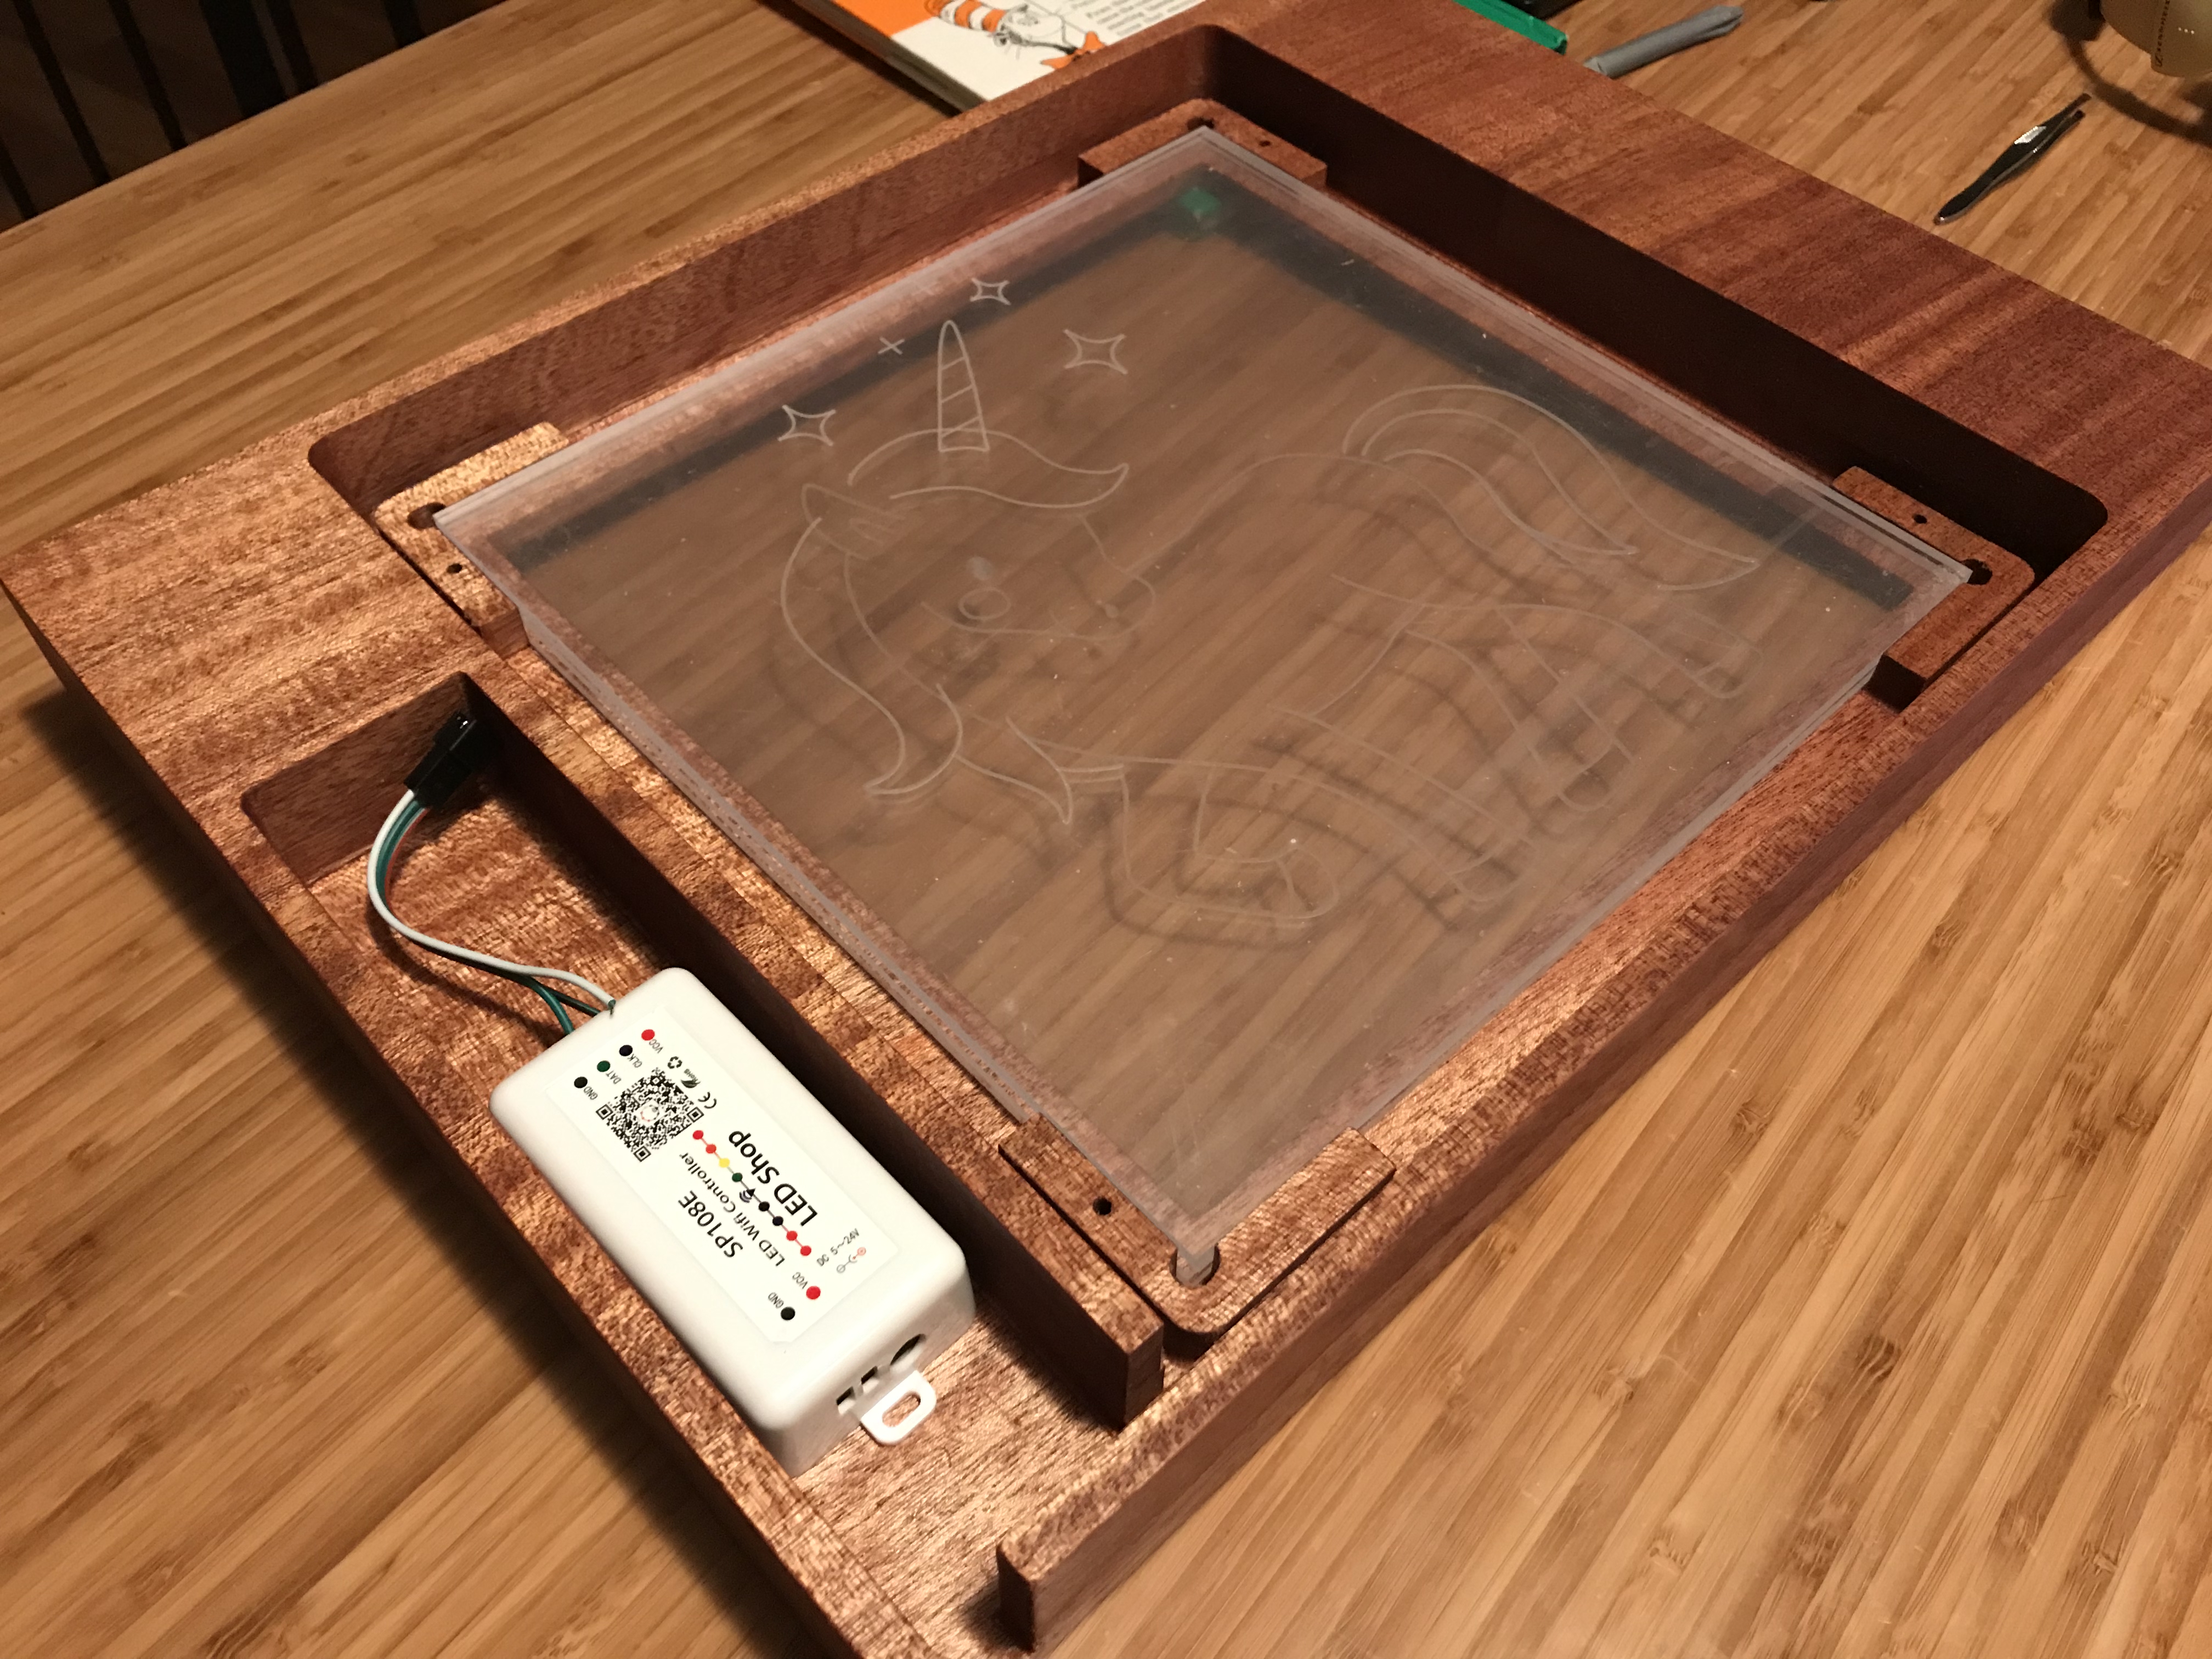
Huzzah! The final frame is done. In this picture the wood has been treated with Danish oil and sanded a billion times. What is not pictured is the backing piece which hides the LED light from spilling out the back of the frame and holds the acrylic pieces in. It’s a simple rectangle cut out, though, so you’re not missing much :)
As the final frame was resized a bit larger, I redid the engraving and did a much better job on cutting out the sheets. Instead of trying to hold down the acrylic from above, I used the “tape-n-glue” technique where you apply tape to the machine surface and the stock, then put a layer of superglue between the tapes to hold it down. Works extremely well for acrylic engraving and, more importantly, for the cut out step. I also spent a bit more time being careful about painting this time, heh:
Finally I can lay the LED strip it, connect everything up and power it on!
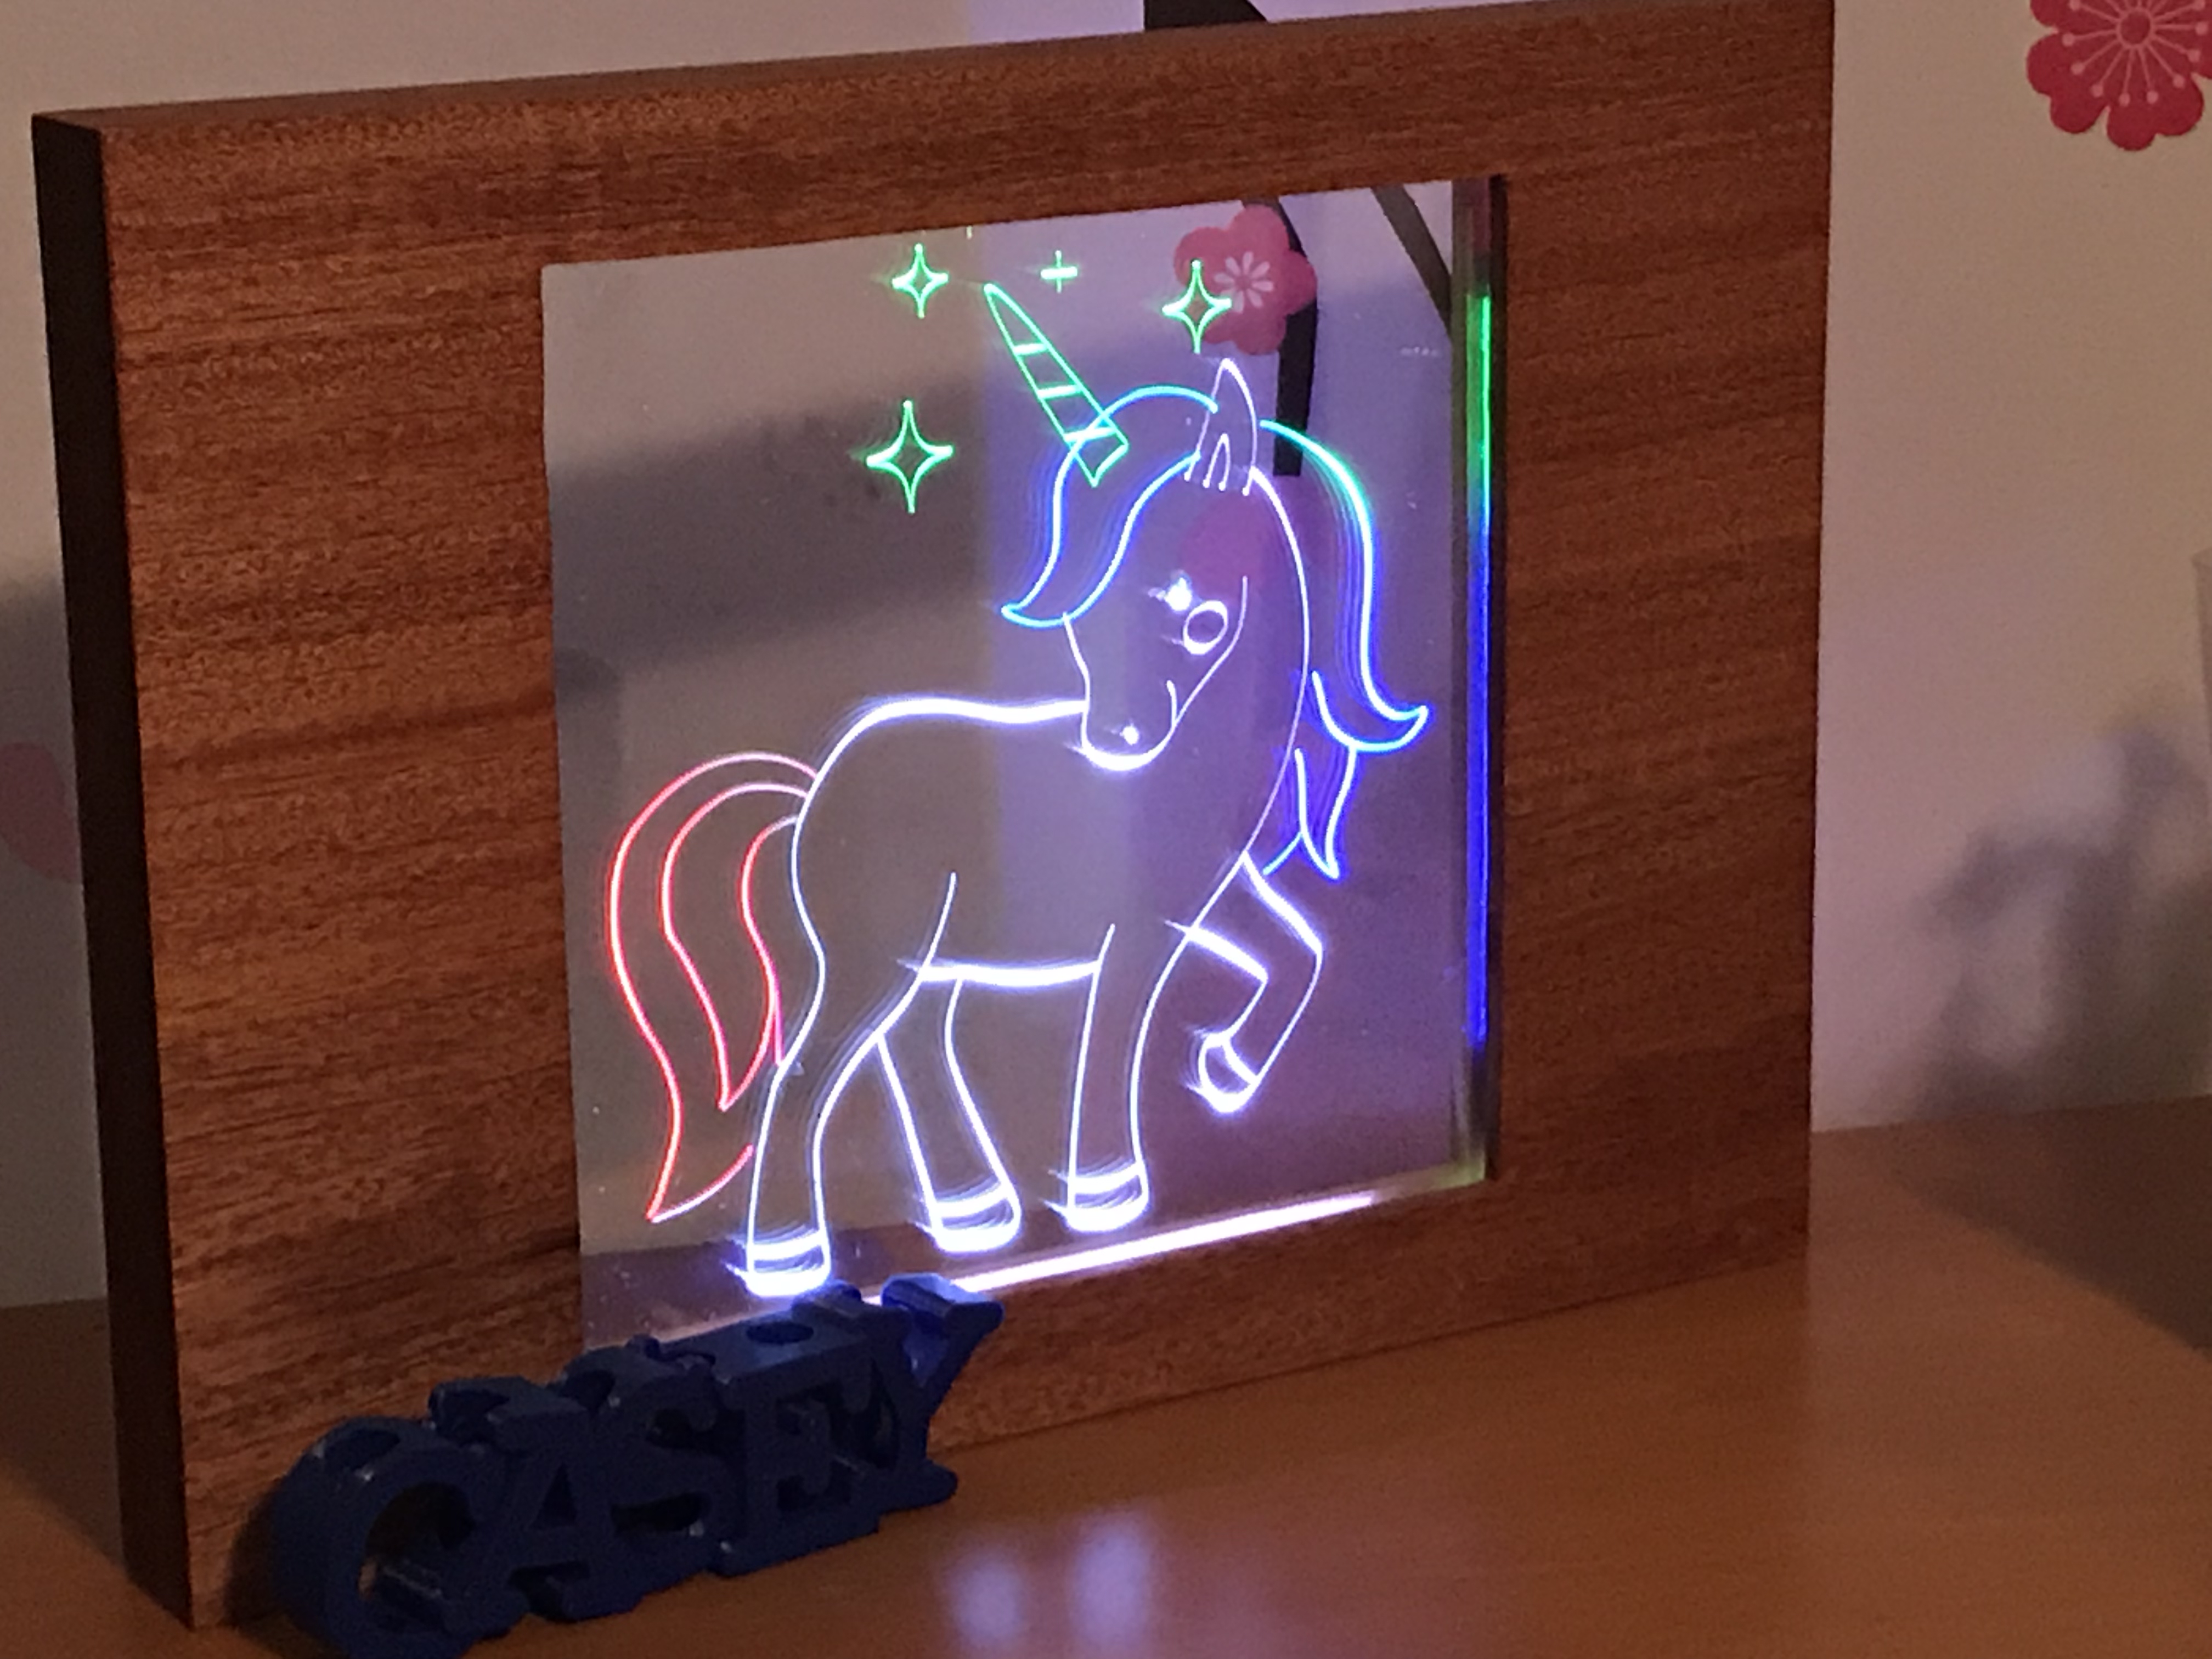
Lovely!
And, finally, a night shot showing off the multi-layer lighting effect in full force:

The Fusion 360 files for the frame and engraving are available below: