Home Cluster (Part II): Machine Setup, PiXiEs!
Jun. 01 2016With my new cluster hardware in place, on thing I really did not want to do was setup all three machines by hand with install usb sticks, etc. Especially since I had the foresight to realize that I’d probably had to re-image these machines a few times in the future.
Operating System Selection
I am most familiar with Centos 6/7 (any RHEL based system, really). Normally I would have gone with that OS, but I planned on relying very heavily on Docker for these servers. Now, while Docker is supported in RHEL distributions, it’s a bit of a second-class citizen. Ubuntu has all the best features, is most stable, and least PITA to work with when you’re dealing with docker. So I went with that.
Bootstrapping Bare Metal Machines
Also all network cards for the last forever support PXE boot mode. Good google that for way more details, but it boils down to the idea that the network card can grab an IP address from your DHCP server and also get instructions on where to fetch a boot image from. It will grab that boot image and start your system. Typically you’ll use this to show a menu of options.
RT-N66U Router and PXE Boot
I have the very nice RT-N66U router. Since it’s a mini-linux like box, it’s using dnsmasq interally. dnsmasq is a powerful dns server which can serve PXE info and act as the TFTP server for remote computers. You will need a USB thumb drive to store large ISO’s for the router – just pop one into the back and format it.
Turn on JFFS and SSHD
First, you must have the JFFS drive writable and the SSH server turned on. The jffs filesystem allows you to make chnages that the router will persist during restarts. You turn on SSH so you can ssh to the server to make direct changes.
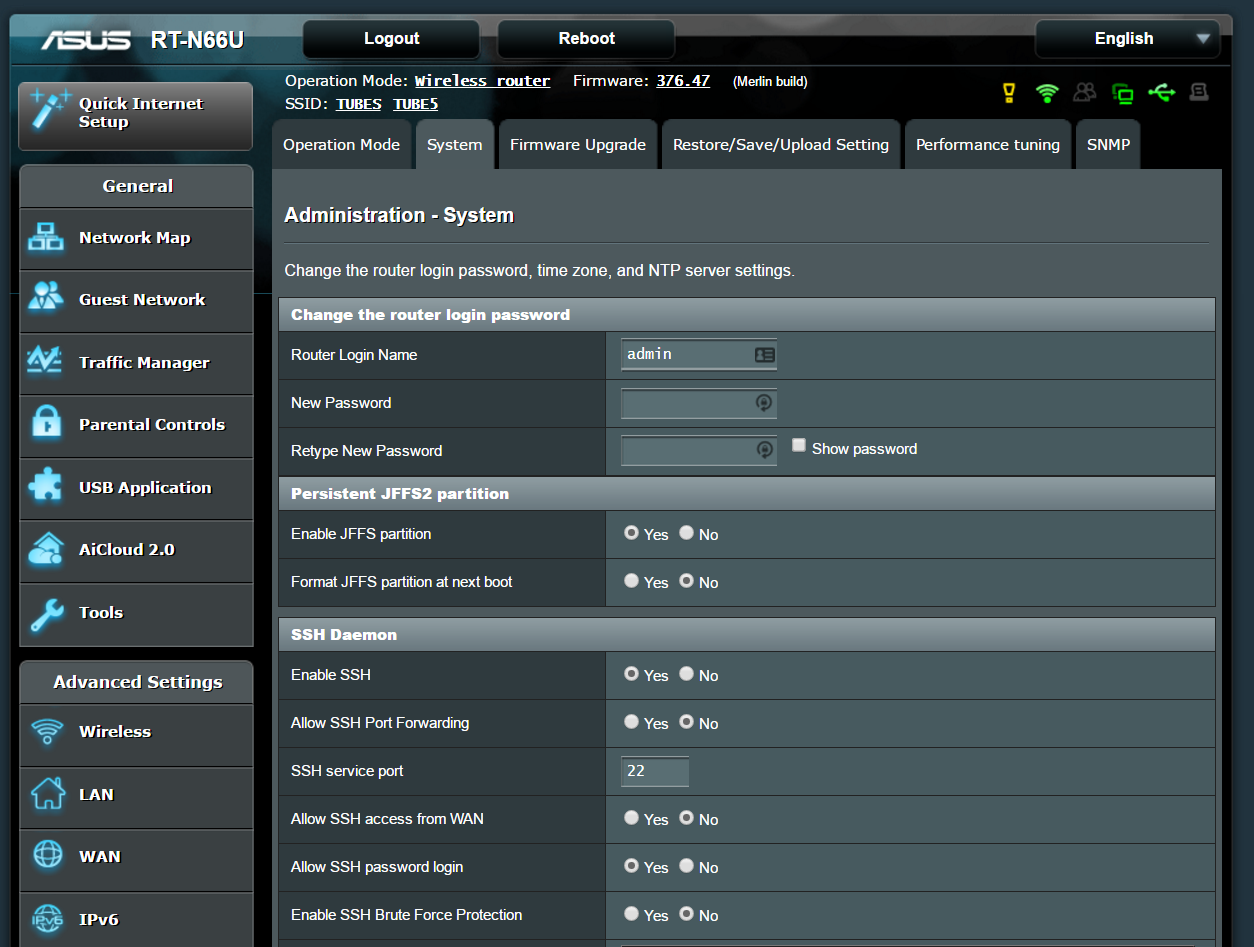
Once done, you can ssh to the router and login using the admin credentials.
Adding DNSMasq Configs
We need to edit the router to load extra params into dnsmasq. SSH in, create the right directory, and setup your extra configs:
mkdir -p /jffs/configs/
If /jffs/configs/dnsmasq.conf.add file exists, add to it, otherwise put in:
dhcp-boot=pxelinux.0,,192.168.1.1
enable-tftp
tftp-root=/tmp/mnt/sdc1/tftp
domain=home
What that does is setup the router to tell machines that they can PXE boot from it, and turns on the TFTP server (within dnsmasq) to faciliate as much. The tftp-root will be different based on where the system decides to mount your USB drive.
Now just restart dnsmasq to get it up and working:
# Weird syntax, but it works
service restart_dnsmasq
Setting Up The TFTP Root
First you’re going to need to define what your Boot Menu will look like, this is mine:
# /tmp/mnt/sdc1/tftp/pxelinux.cfg/default
# The Boot Menu!

MENU WIDTH 80
MENU MARGIN 10
MENU PASSWORDMARGIN 3
MENU ROWS 10
MENU TABMSGROW 15
MENU CMDLINEROW 15
MENU ENDROW 24
MENU PASSWORDROW 11
MENU TIMEOUTROW 16
MENU TITLE Pick Your Path

menu color title 1;34;49 #eea0a0ff #cc333355 std
menu color sel 7;37;40 #ff000000 #bb9999aa all
menu color border 30;44 #ffffffff #00000000 std
menu color pwdheader 31;47 #eeff1010 #20ffffff std
menu color hotkey 35;40 #90ffff00 #00000000 std
menu color hotsel 35;40 #90000000 #bb9999aa all
menu color timeout_msg 35;40 #90ffffff #00000000 none
menu color timeout 31;47 #eeff1010 #00000000 none

default vesamenu.c32

prompt 0
timeout 300

label Ubuntu-16.04
    menu label ^0 Ubuntu 16.04
    kernel ubuntu/16.04/install/netboot/ubuntu-installer/amd64/linux
    append auto=true interface=eth0 hostname=cluster domain=home url=tftp://192.168.1.1/ubuntu/16.04/preseed.cfg initrd=ubuntu/16.04/install/netboot/ubuntu-installer/amd64/initrd.gz --

label Memtest
    menu label ^1 Memtest
    kernel memtest/memtest
I only use two boot options at this point: install ubunut or run memtest. Being able to boot a machine over the network straight to a utility like memtest is pure amazing.
To setup the ubuntu source, you’ll need to download their ISO and extract it to /tmp/mnt/sdc1/tftp/ubuntu/16.04/. Once done, you need to steal a few files from the ISO and place them in the tftp root:
cp /tmp/mnt/sdc1/tftp/ubuntu/16.04/install/netboot/ubuntu-installer/amd64/pxelinux.0 /tmp/mnt/sdc1/tftp
cp /tmp/mnt/sdc1/tftp/ubuntu/16.04/isolinux/chain.c32 /tmp/mnt/sdc1/tftp
cp /tmp/mnt/sdc1/tftp/ubuntu/16.04/isolinux/ldlinux.c32 /tmp/mnt/sdc1/tftp
cp /tmp/mnt/sdc1/tftp/ubuntu/16.04/isolinux/libcom32.c32 /tmp/mnt/sdc1/tftp
cp /tmp/mnt/sdc1/tftp/ubuntu/16.04/isolinux/libutil.c32 /tmp/mnt/sdc1/tftp
cp /tmp/mnt/sdc1/tftp/ubuntu/16.04/isolinux/vesamenu.c32 /tmp/mnt/sdc1/tftp
And if you want memtest, grab this:
wget http://www.memtest.org/download/5.01/memtest86+-5.01.bin.gz
gunzip memtest86\+-5.01.bin.gz
mkdir /tmp/mnt/sdc1/tftp/memtest/
mv memtest86\+-5.01.bin.gz /tmp/mnt/sdc1/tftp/memtest/memtest
Compressed from these instructions
Preseed – Ubuntu Automatic Install
At this point, a machine configured for PXE boot (see your motherboard bios options) should boot, ask for DHCP, boot the menu and present you with options. If you were to select Ubuntu at this point it’d either break (not sure) or go into an interactive install. As we started at the beginning of the post, I want this to be fully automatic, so we need to tell the installer all the options to get it installed without manual intervention. In ubuntu (via debian) this is called the preseed.
If you take a look at the boot menu options, you see
label Ubuntu-16.04
    menu label ^0 Ubuntu 16.04
    kernel ubuntu/16.04/install/netboot/ubuntu-installer/amd64/linux
    append auto=true interface=eth0 hostname=cluster domain=home url=tftp://192.168.1.1/ubuntu/16.04/preseed.cfg initrd=ubuntu/16.04/install/netboot/ubuntu-installer/amd64/initrd.gz --
The preseed.cfg is what the installer will attempt to fetch and use to auto install the system. My preseed looks like this – lots of comments explaining what I picked and why are embedded.
# preseed.cfg

# Language setting -- I'm in the us
d-i debian-installer/locale string en_US

# Keyboard setting
d-i console-setup/ask_detect boolean false
d-i console-setup/layoutcode string us
d-i console-setup/charmap select UTF-8
d-i keyboard-configuration/xkb-keymap select us
d-i keyboard-configuration/layoutcode string us

# Network setting
# While I start with the hostname cluster, it will get changed later by
# editing the machine once its up and running
d-i netcfg/choose_interface select auto
d-i netcfg/get_hostname string cluster
d-i netcfg/get_domain string home

# I have turned on the FTP server on my router and pointed it at the extracted
# ISO root so that I can boot and install packages from there. This way I can
# radically speed up my install since I don't need to fetch items from
# the web. This does, however, come with a downside -- these settings stick
# around AFTER the install is complete, so since this is not a REAL mirror, but
# merely a static copy, you'll need to go and fix your apt sources later on.
d-i mirror/protocol string ftp
d-i mirror/ftp/hostname string 192.168.1.1
d-i mirror/ftp/directory string /sdc1/tftp/ubuntu/16.04
d-i mirror/ftp/proxy string

# Clock setting
d-i clock-setup/utc boolean true
d-i time/zone string America/Los_Angeles
d-i clock-setup/ntp boolean true

# Partitioning: use lvm, the entire disk, wipe anything there, one big file system (/home, etc)
d-i partman-auto/method string regular
d-i partman-lvm/device_remove_lvm boolean true
d-i partman-md/device_remove_md boolean true
d-i partman-lvm/confirm boolean true
d-i partman-lvm/confirm_nooverwrite boolean true
d-i partman-auto-lvm/guided_size string max
d-i partman-auto/choose_recipe select atomic
d-i partman-partitioning/confirm_write_new_label boolean true
d-i partman/choose_partition select finish
d-i partman/confirm boolean true
d-i partman/confirm_nooverwrite boolean true

# Skip creating the root user and, instead, create a user (who will have sudo) as myself.
# I do not create a sane password since I will disable password login and add my SSH key later.
d-i passwd/root-login boolean false
d-i passwd/make-user boolean true
d-i passwd/user-fullname string Jeff Minard
d-i passwd/username string jeff
# I have literally no idea what this password is. Just did:
#  $ mkpasswd -m sha-512 $(pwgen -yns 64 1)
# to make one up. PKI is how we'll really get in here (see late_command)
d-i passwd/user-password-crypted password $6$PqEsuaIV4$OfUKm5dRaFRPX1TP40OvwHg3PEEQ1S453fMziL.H0JDGamHCO.N5OIXjLH3DUjV0vhfmb.0tSBVsGx1kO5Wmb/
d-i user-setup/encrypt-home boolean false

# Base system installation
d-i base-installer/kernel/image string linux-image-amd64

# package selection
tasksel tasksel/first multiselect standard
d-i pkgsel/update-policy select unattended-upgrades
d-i pkgsel/include string openssh-server
d-i pkgsel/upgrade select none

# This is a critical step -- the preseed can only do steps from what the
# installer offers with this one exception, the "late_command" option can run
# any arbitrary command. However, you can only specify a single instance of
# the late_command option, but you can make it do multiple things. To keep this
# file sane, I have it fetch a bash script, chmod it, and execute it in the
# machine which is being built.
d-i preseed/late_command string \
 in-target wget ftp://192.168.1.1/sdc1/tftp/ubuntu/16.04/late.sh -O /tmp/late_command.sh ;\
 in-target chmod +x /tmp/late_command.sh ;\
 in-target /tmp/late_command.sh

# Grub
d-i grub-installer/only_debian boolean true
d-i grub-installer/with_other_os boolean true
d-i finish-install/reboot_in_progress note
That file all put together will get the system installer to completely finish an ubuntu install. You would, however, need the late.sh script. A slightly redacted version of mine looks like this:
#!/bin/bash

# Update to proper sources -- as noted in preseed, the sources setup for
# install are local and static. This gets us back to normal sources AND adds docker
cat <<'EOF' > /etc/apt/sources.list
# Ubuntu Main Repos
deb     http://us.archive.ubuntu.com/ubuntu/ xenial main restricted universe
deb-src http://us.archive.ubuntu.com/ubuntu/ xenial main restricted universe

# Ubuntu Update Repos
deb     http://us.archive.ubuntu.com/ubuntu/ xenial-security main restricted universe
deb     http://us.archive.ubuntu.com/ubuntu/ xenial-updates main restricted universe
deb-src http://us.archive.ubuntu.com/ubuntu/ xenial-security main restricted universe
deb-src http://us.archive.ubuntu.com/ubuntu/ xenial-updates main restricted universe

# Docker
deb     https://apt.dockerproject.org/repo ubuntu-xenial main
EOF

# Add Docker Key
apt-key adv --keyserver hkp://p80.pool.sks-keyservers.net:80 --recv-keys 58118E89F3A912897C070ADBF76221572C52609D

# Update apt, upgrade everything
apt-get update
apt-get upgrade -y

# Install docker
apt-get install -y docker-engine

# Setup SSH Keys for `jeff`
mkdir /home/jeff/.ssh
echo 'ssh-rsa insert-your-ssh-public-key-here' >> /home/jeff/.ssh/authorized_keys
chmod -r 600 /home/jeff/.ssh
chown -r jeff:jeff /home/jeff/.ssh

# passwordless sudo
echo "%sudo   ALL=NOPASSWD: ALL" >> /etc/sudoers

# Prevent root login
sed -e 's/PermitRootLogin.\+/PermitRootLogin no/g' -i /etc/ssh/sshd_config

# Disallow password auth (not that anyone has a clue what the fucking password is)
sed -e 's/.\+PasswordAuthentication.\+/PasswordAuthentication no/g' -i /etc/ssh/sshd_config

# speed up ssh
echo "UseDNS no" >> /etc/ssh/sshd_config
Once the machine is booted, PXE loaded, Ubuntu selected and installed I can ssh directly to the new machine and start playing with it. You can find the machine’s IP address in your router, but I have them pegged to specific IPs by using the MAC address binding in the router.
Phew!
Lot’s of stuff to play with and explore. Give yourself a while to get through this step – it’s complicated tech, pretty deep in the stack and took me several hours over the course of a few weeks to really get locked in how I liked. I had to spend a lot of time learning about PXE, dnsmasq and just generally searching for solutions. And I probably rebooted those machines 100 times. I eventually turned my brain on and realized that it was smarter to test the PXE boot with a virtual machine (Virtualbox works great for this). Give that a try, was very successful.
And the end of the day, I can completely erase any of my cluster machines and have them fully rebuilt in about 30 minutes, ready to rejoin the cluster.
Home Cluster: